| layout | page |
|---|---|
| title | Home Assistant Configuration |
| permalink | /home_assistant |
The Home Assistant integration consists of two parts:
- node sensors: each ESP32 appears as a device automatically (because MQTT auto discovery), including entities to set max distance and disable/enable active scan or query
- beacons: define each beacon in
configuration.yaml(using mqtt_room integration)
Once the ESP32 is running, it is important to configure Home Assistant to use the information from the MQTT topic to determine what devices to track. You can read the full documentation on the Home Assistant website. It is critical that you configure your device IDs to match the device fingerprint found by ESPresence (e.g. apple:1007:11-12).
The easiest way to find the fingerprint is to connect the usb cable and monitor the serial port (115200 baud) while bringing a device close to the ESP32. To monitor the serial port you can use the ESPresense terminal.
Alternatives: e.g. Arduino monitor function, the PlatformIO VSCode extension or via platform io pio run --target monitor.
You should see output similar to the following:
--- Miniterm on /dev/cu.usbserial-39522517AB  115200,8,N,1 ---
--- Quit: Ctrl+C | Menu: Ctrl+T | Help: Ctrl+T followed by Ctrl+H ---
0 New   | MAC: 67dc0c979510, ID: apple:0c0e:26
0 New   | MAC: 14dc290e58f2, ID: apple:0a01:5
1 Close | MAC: 4277f2521053, ID: apple:1007:11-12
The Close message will show which devices are under half a meter away. Once you move the device > 1m you will see a Left message.
Alternatively, you can monitor the MQTT topics using e.g. MQTT Explorer.
Connect to the Home Assistant MQTT broker (same configuration as used for the ESPresence sensor setup).
This groups + shows the rooms and devices.
ESPresense supports MQTT auto discovery, which is enabled by default in Home Assistant. This means a device + entities for each ESP32 sensor will automatically be created.
They appear as device + entities in Mosquitto broker card on the integrations page.

And available in the devices overview.

Each beacon that should be monitored in Home Assistant needs to be added to the configuration.yaml file.
sensor:
# One entry for each beacon you want to track
  - platform: mqtt_room
    device_id: "apple:1007:11-12"
    name: 'Darrell Watch'
    state_topic: 'espresense/rooms'
    timeout: 60
    away_timeout: 120 # number of seconds after which the enitity will get status not_home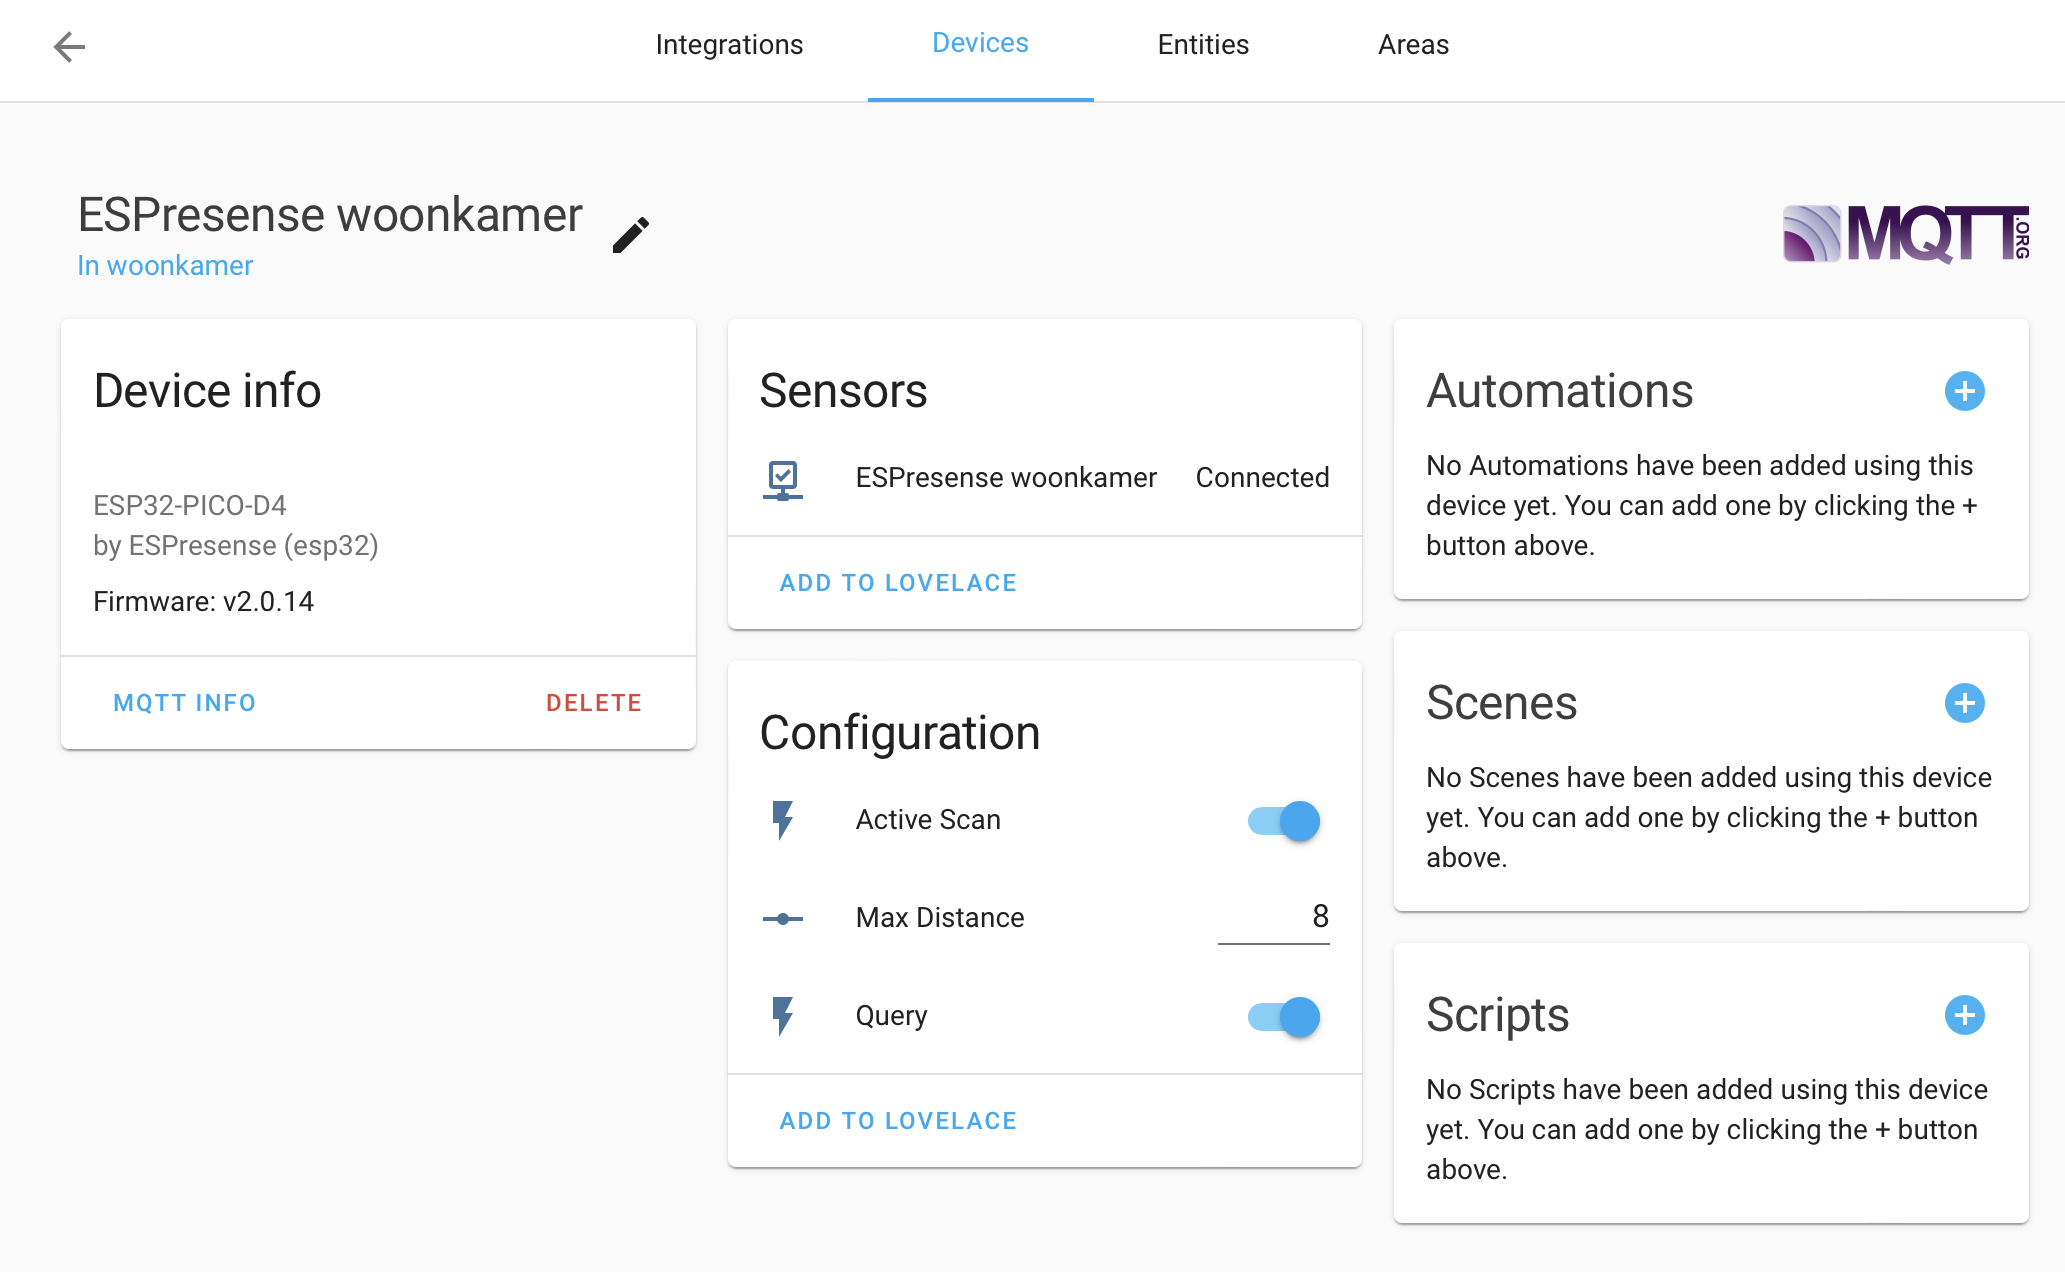


Normally not needed, but in case MQTT auto discovery is disabled, it is possible to manually add a binary_sensor for the ESP32 sensor.
Note: this does not add the entities that are normally added automatically: set max distance, active scan, query.
binary_sensor:
# One entry per sensor node
  - platform: mqtt
    name: Dining Mqtt Room
    state_topic: espresense/rooms/dining/status # use the MQTT topic for the room
    json_attributes_topic: espresense/rooms/living/telemetry
    payload_on: online
    payload_off: offline
    device_class: connectivity