$ sudo su
$ cd
$ wget https://releases.hashicorp.com/terraform/0.13.3/terraform_0.13.3_linux_amd64.zip // download the latest available package
$ unzip terraform_0.13.3_linux_amd64.zip
$ rm -r terraform_0.13.3_linux_amd64.zip
$ mkdir terraform_bin // create a folder named 'terraform'
$ mv terraform downloadsUpdate your path so you can call Terraform binary from anywhere in the machine
$ nano ~/.profileAdd the following code at the end of the codeblock
export PATH="$PATH:~/terraform"To save the file and get back to the CLI, use Ctrl + s then Ctrl + x.
To update your path to the current session, use :
$ source ~/.profileLet's check Terraform version to see if it was correctly installed and that we can call it from anywhere on the machine:
$ terraform --versionLet's finalize the installation of Terraform
Print a colon-separated list of locations in your PATH.
$ echo $PATHMove the Terraform binary to one of the listed locations. Here we use the following location: usr/local/bin.
$ mv terraform_bin/terraform /usr/local/binClose your Terminal window, relaunch a new window (Ctrl + T)
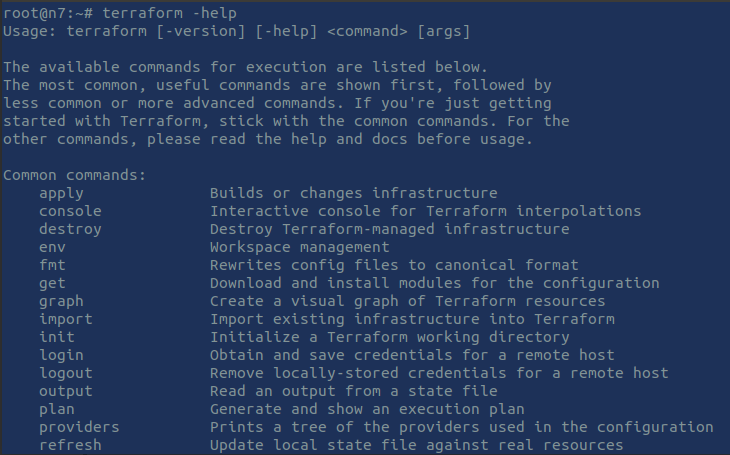
Use the following commands to check if terraform was correctly installed and initialized:
$ sudo su
$ terraform -helpEnable tab completion
If you use either bash or ssh you can enable tab completion for Terraform commands. To enable autocomplete, run the following command and then restart your shell.
$ terraform -install-autocompleteHere we are! We are ready to use Terraform for our Infrastructure as Code projects on our local machine.
Log into your AWS account. If you don't have an account, create one: https://portal.aws.amazon.com/billing/signup#/start.
You can access your console after Signing Up to AWS using this link: https://console.aws.amazon.com/console/home.
Once logged into your AWS console, go to IAM.
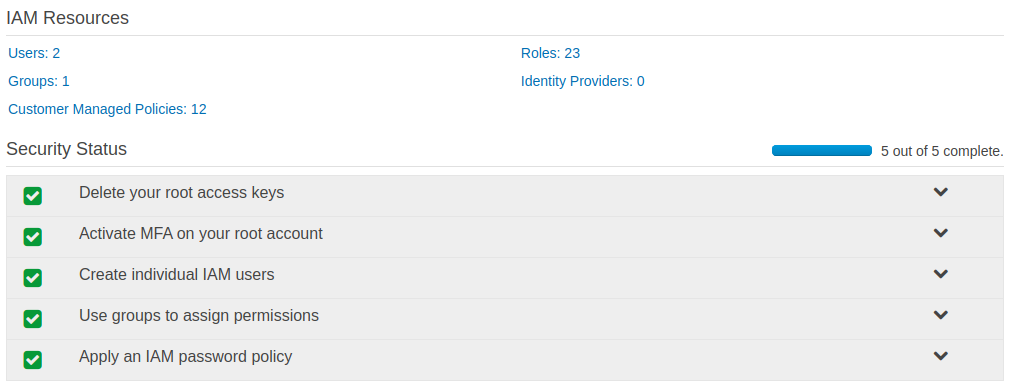
If you are new to AWS, please bypass all user configuration (green ticked marks below) for the sake of simplicity.
. Click on Users > Add user
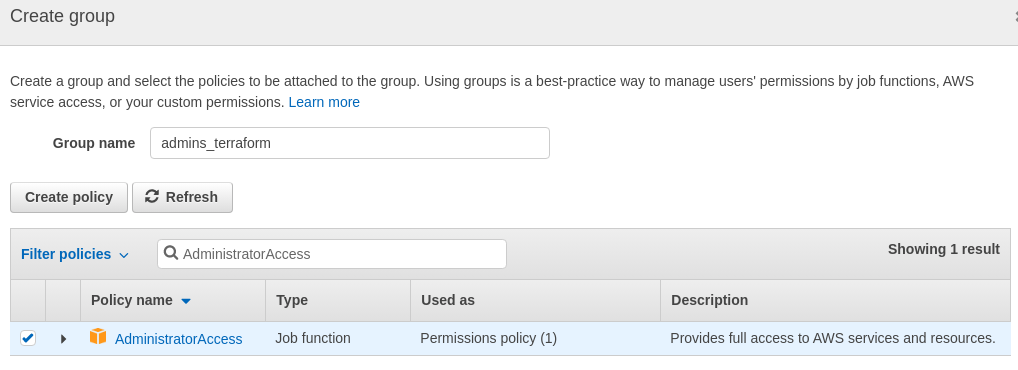
. Next: permissions > Create group: call it admins_terraform.
. Filter policies: search for AdministratorAccess in the search bar.
. Select the AdministratorAccess policy and click on 'Create group'.
. Next: tags. Use as key: resources and as Value: terraform
. Next: review > create user > download the .csv file which contains security credentials for the user '
terraform_user'
Access key ID and a Secret access key were provided to you by AWS.
Be sure to keep these values in a secure location; you will use them in the next step.
You can keep this window opened and open a new AWS console window from your browser.
Important Follow `AWS` security best practices by deleting this user and the group created after completing this gist, since all security parameters for this user weren't fulfilled for the sake of simplicity.
$ sudo apt-get update
$ sudo apt install awscli
Once completed, check the installed version
$ aws --version
Let's configure our 'AWS ClI'.
$ aws configureWhen prompted, enter 'AWS Access Key ID' provided upon user creation.
Do the same for 'Secret Access Key'.
Default region name: 'us-east-1'
Default output format: JSON
We will use 'Atom' as our editor for building our Terraform project.
- Update the packages list and install the dependencies
$ sudo apt update
$ sudo apt install software-properties-common apt-transport-https wget- import the Atom Editor GPG key
$ wget -q https://packagecloud.io/AtomEditor/atom/gpgkey -O- | sudo apt-key add -- enable the Atom APT repository
$ sudo add-apt-repository "deb [arch=amd64] https://packagecloud.io/AtomEditor/atom/any/ any main"- Install the latest version of Atom
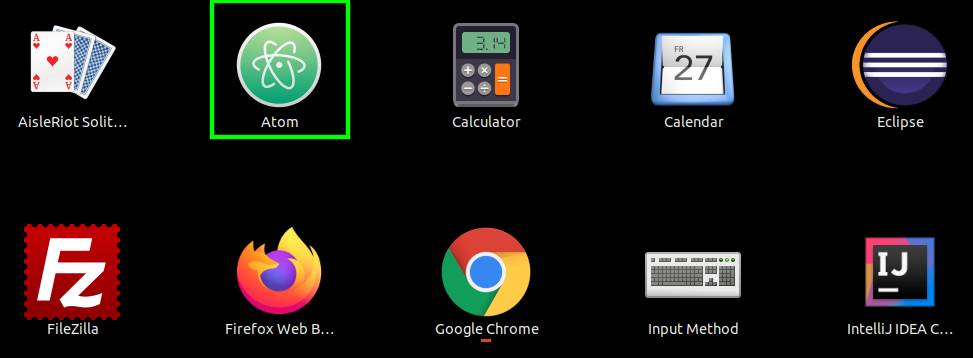
$ sudo apt install atomOnce installed, Atom's icon should appear within your local applications.
Open the folder and launch Atom from this folder.
$ cd terraform
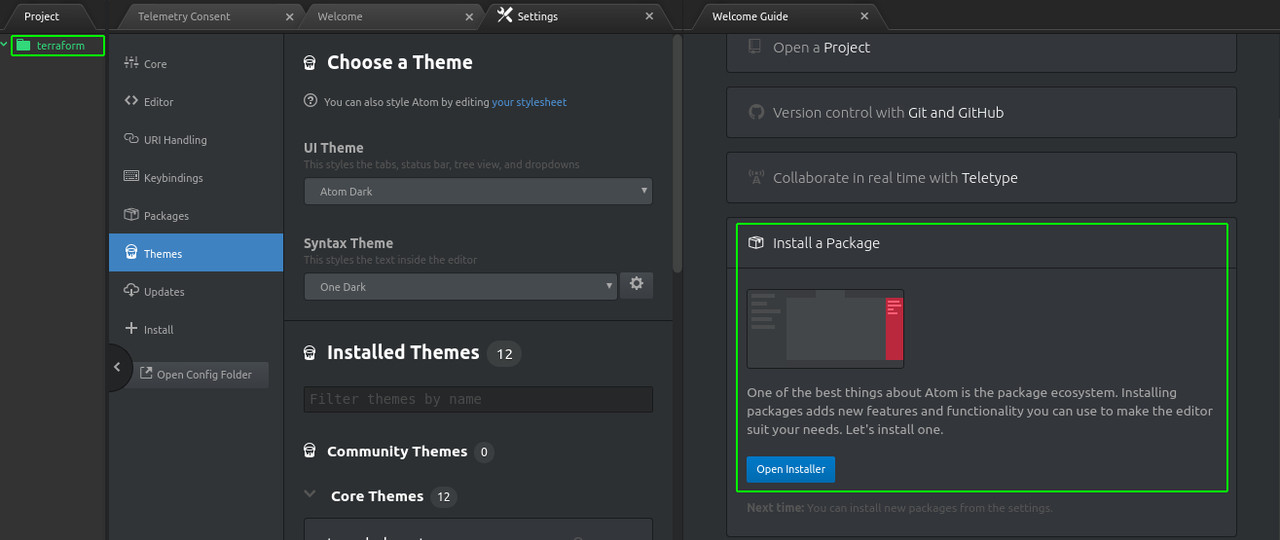
$ atom .The application should instantiate automatically and reffering to the folder terraform.
Before we create our workspace, we will install few packages.
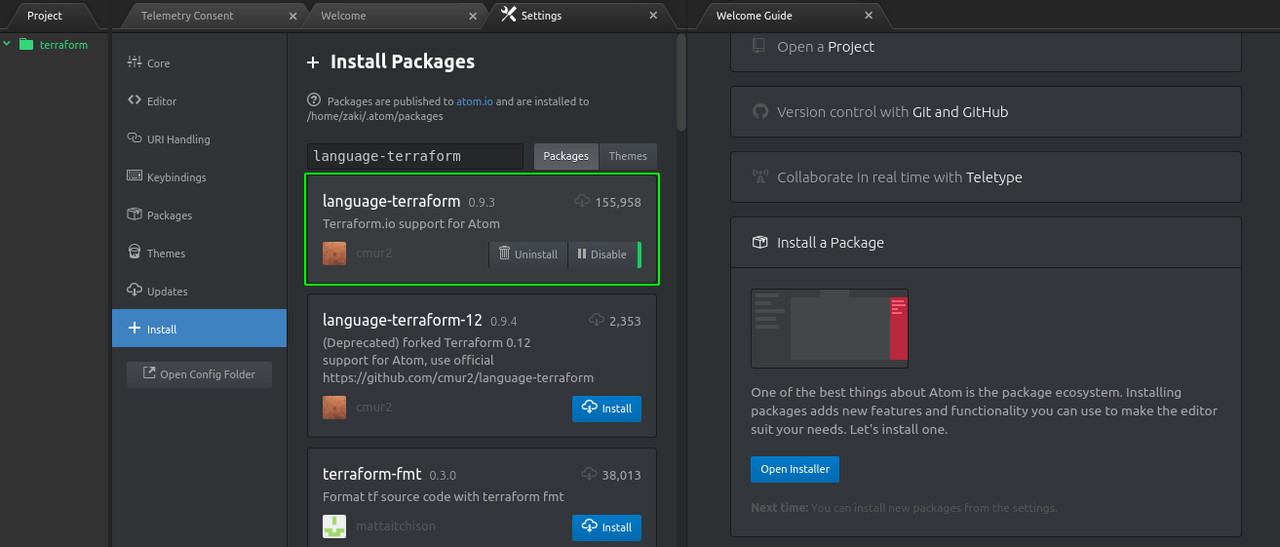
Click on 'Install a package' > 'Open installer' and search for 'language-terraform' > Install the package.
Install also 'terraform-fmt' package.
If you go to Settings > packages, you'll see your newly installed packages.
Now that all prerequisites have been fulfilled, let's jump onto Create_Terraform_Workspace section of this gist.


