| icon |
|---|
material/tools |
The USB connection is utilized for programming and serial communication. Users only need to plug their RA6M5 Thing Plus into a computer using a USB-C cable.
[{ width="400" }](./assets/img/hookup_guide/assembly-usb.jpg "Click to enlarge") The RA6M5 Thing Plus with USB-C cable attached.For remote IoT applications, a LiPo battery can be connected. Additionally, users may be interested in utilizing a solar panel and USB-C cable to recharge their battery.
-
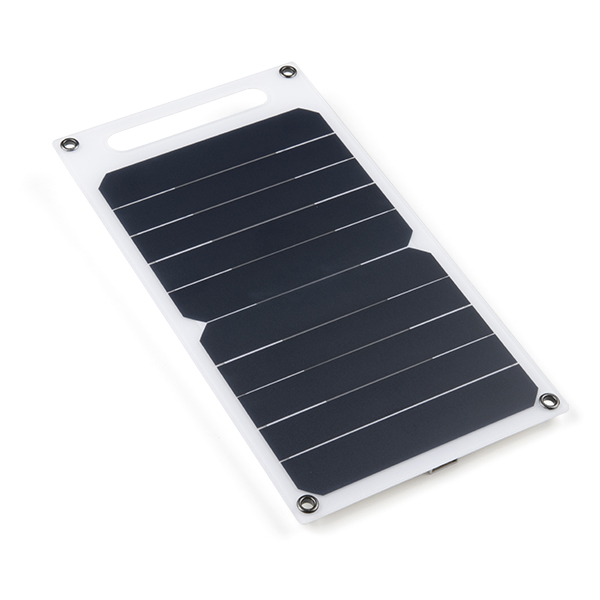
Solar Panel Charger - 10W
TOL-16835 -
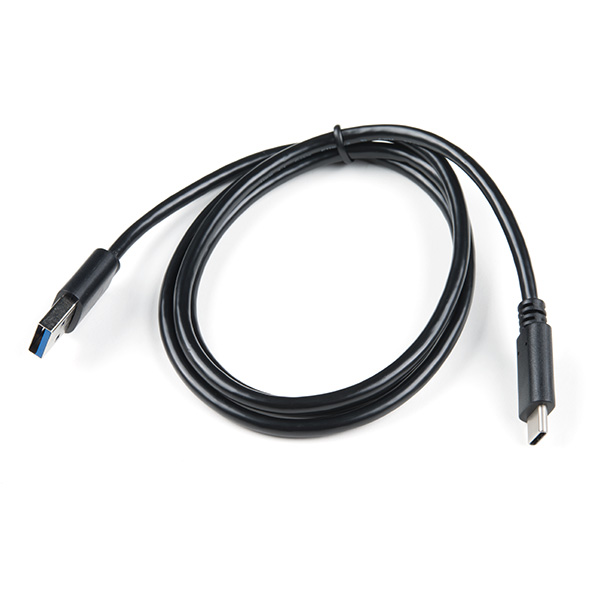
USB 3.1 Cable A to C - 3 Foot
TOL-14743
!!! warning Users should avoid pulling on the wires of a battery to disconnect it from the board. Instead, it is recommended that a pair of dikes (i.e. diagonal wire cutters), pliers, or tweezers be used to pull on the JST connector housing, to avoid damaging the battery wiring.
<figure markdown>
[{ width="400" }](./assets/img/hookup_guide/assembly-battery_removal.jpg "Click to enlarge")
<figcaption markdown>Using a pair of dikes to disconnect a battery.</figcaption>
</figure>
The PTH pins on the RA6M5 Thing Plus are broken out into 0.1"-spaced pins on the edges of the board.
??? tip "New to soldering?" If you have never soldered before or need a quick refresher, check out our How to Solder: Through-Hole Soldering guide.
<div class="grid cards col-4" markdown align="center">
- <a href="https://learn.sparkfun.com/tutorials/5">
<figure markdown>

</figure>
---
**How to Solder: Through-Hole Soldering**</a>
</div>
Headers are versatile in their compatibility with shields, breadboards, or jumper wires.
[{ width="400" }](./assets/img/hookup_guide/assembly-headers.jpg "Click to enlarge") Soldering headers to the RA6M5 Thing Plus.??? tip "Stackable Headers" Our Feather Stackable Header Kit is a great option for stacking on shields (w/ Feather footprint) or on a breadboard; while leaving its pins still accessible.
<figure markdown>
[{ width="400" }](./assets/img/hookup_guide/assembly-stackable_headers.jpg "Click to enlarge")
<figcaption markdown>Stackable headers on the RA6M5 Thing Plus.</figcaption>
</figure>
The RA6M5 Thing Plus includes a µSD card slot on the back of the board. The cardholder functions through a push/pull operation. (The card slot doesn't include a spring retention mechanism; cards are held in place through friction.)
[{ width="400" }](./assets/img/hookup_guide/assembly-sd_card.jpg "Click to enlarge") Users can slide-in or pull-out a µSD card from the cardholder.!!! info "SD Card Compatibility" The R6M5 Thing Plus supports µSD cards with a FAT32 file system (i.e. only cards up to 32GB in size).
The Qwiic system allows users to effortlessly prototype with a Qwiic compatible I^2^C device without soldering. Users can attach any Qwiic compatible sensor or board, with just a Qwiic cable. (*The example below, is for demonstration purposes and is not pertinent to the board functionality or this tutorial.)
[{ width="400" }](./assets/img/hookup_guide/assembly-qwiic.jpg "Click to enlarge") The [BME688 environmental](https://www.sparkfun.com/products/19096) and [VL53L1X distance](https://www.sparkfun.com/products/14722) Qwiic sensor boards connected to the RA6M5 Thing Plus.