| icon |
|---|
material/book-open-page-variant |
-
**RA6M5 Thing Plus**
**SKU:** WRL-24243
 <iframe src="https://www.youtube.com/embed/A9NTdowiY_o" title="Product Showcase Video" frameborder="0" allow="accelerometer; autoplay; clipboard-write; encrypted-media; gyroscope; picture-in-picture" allowfullscreen></iframe> { .qr width=100 } { .tinyqr } Purchase from SparkFun :fontawesome-solid-cart-plus:{ .heart } { .md-button .md-button--primary }
 -
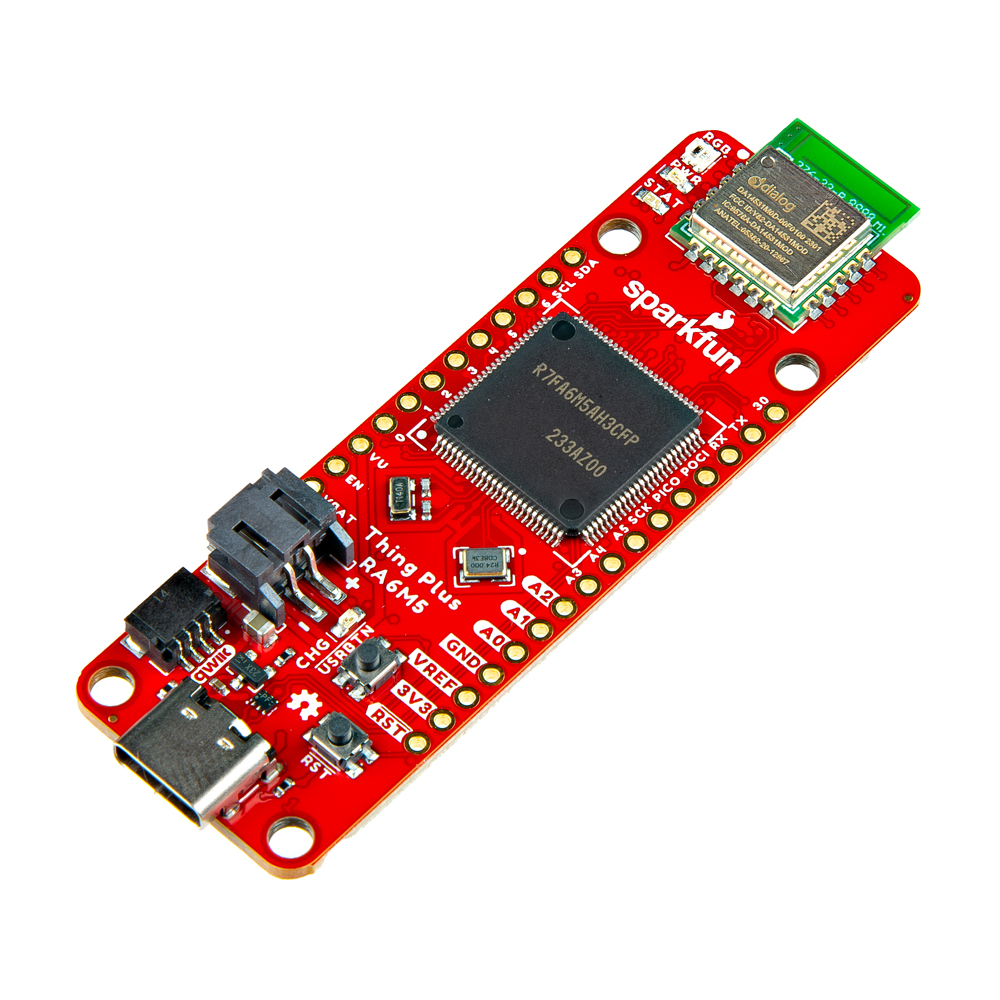
Clocking in at 200MHz, the RA6M5 is a high-performance microcontroller from Renesas that is perfect for real-time applications. The SparkFun Thing Plus - RA6M5, is our latest Thing Plus board featuring the standard Qwiic connector, JST LiPo battery connector, 21 GPIO pins broken out in a Feather footprint, and status indicator LEDs. At the core is the RA6M5 microcontroller, a low-power Arm^®^ Cortex^®^-M33 processor with an available 512kB of SRAM and 2MB of Flash and an extensive list of peripheral capabilities. Additionally, we have included 16MB of QSPI Flash and an SD card slot on the board, so users won't have to worry about running out of memory space or data storage options.
The SparkFun RA6M5 Thing Plus also features Bluetooth® Low Energy connectivity, thanks to the provided DA14531MOD module (also from Renesas). When actively transmitting, the DA14531MOD sips a mere 4mA and is capable of operating from a small coin-cell battery. The firmware provided on the module features Renesas' SmartBond™ - CodeLess™ AT command set. Therefore, users only need to send AT commands to configure a Bluetooth connection; without the need to reprogram the module.
!!! note While the Thing Plus - RA6M5 does include some 5V tolerant pins, it is primarily a 3.3V logic-level board.
While the full capabilities of the RA6M5 support a broad range of features, only a limited set may be implemented, by default, in the [Renesas-Arduino core](https://github.com/arduino/ArduinoCore-renesas). However, the capabilities of the Thing Plus - RA6M5 should be comparable to the [Arduino Portenta C33](https://store.arduino.cc/collections/portenta-family/products/portenta-c33); with the exclusion of WiFi connectivity.
To get started, users will need a few items. Some users may already have a few of these items, feel free to adjust accordingly.
- Computer with an operating system (OS) that is compatible with all the software installation requirements
- USB 3.1 Cable A to C - 3 Foot - Used to interface with the RA6M5 Thing Plus (1)
- SparkFun RA6M5 Thing Plus
- If your computer doesn't have a USB-A slot, then choose an appropriate cable or adapter.
-
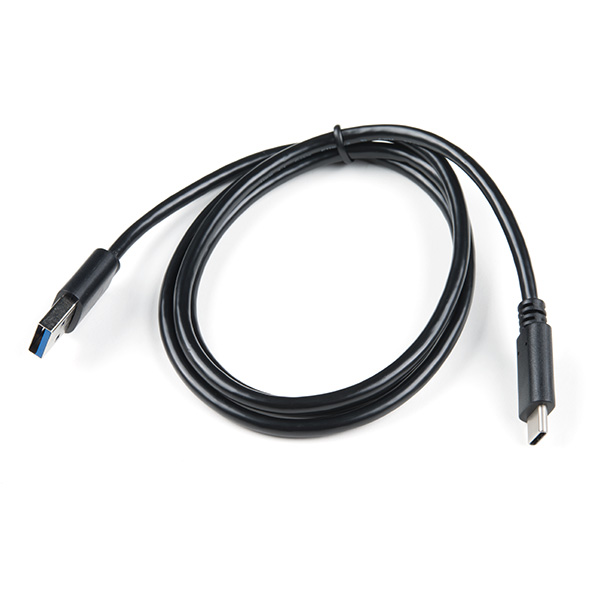
USB 3.1 Cable A to C - 3 Foot
CAB-14743 -

RA6M5 Thing Plus
WRL-24243
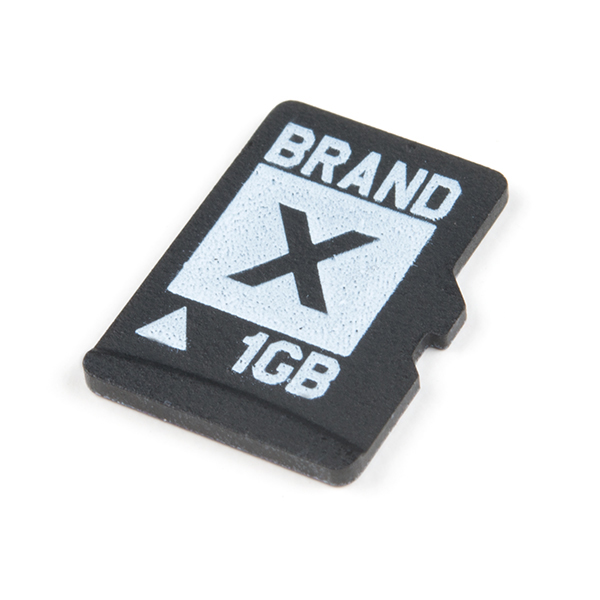
??? note "Data Logging" This board is capable of logging data to an µSD card. Please check out the memory cards and accessories in our product catalog.
<div class="grid cards col-4" markdown>
- <a href="https://www.sparkfun.com/products/15107">
<figure markdown>
</figure>
---
**microSD Card - 1GB (Class 4)**<br>
COM-15107</a>
- <a href="https://www.sparkfun.com/products/13004">
<figure markdown>
</figure>
---
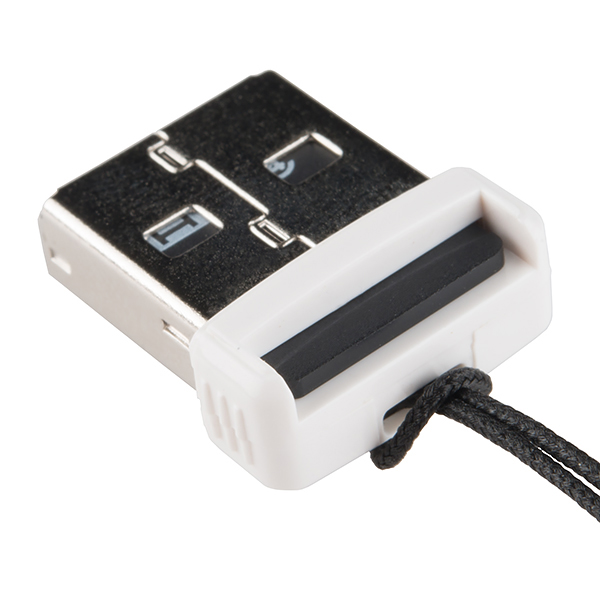
**microSD USB Reader**<br>
COM-13004</a>
</div>
??? note "Headers and Wiring" To add headers or hookup wires, users will need soldering equipment and headers/wires.
!!! tip "New to soldering?"
Check out our [How to Solder: Through-Hole Soldering](https://learn.sparkfun.com/tutorials/5) tutorial for a quick introduction!
<div class="grid cards col-4" markdown align="center">
- <a href="https://learn.sparkfun.com/tutorials/5">
<figure markdown>

</figure>
---
**How to Solder: Through-Hole Soldering**</a>
</div>
<div class="grid cards col-4" markdown>
- <a href="https://www.sparkfun.com/products/9325">
<figure markdown>
</figure>
---
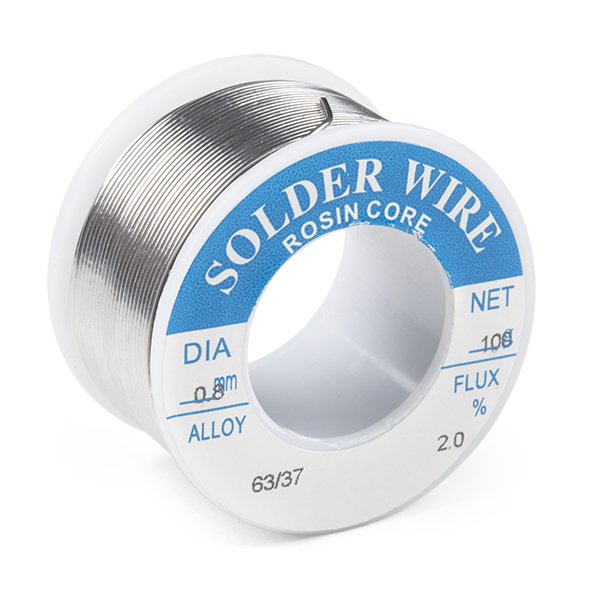
**Solder Lead Free - 100-gram Spool**<br>
TOL-09325</a>
- <a href="https://www.sparkfun.com/products/24063">
<figure markdown>
</figure>
---
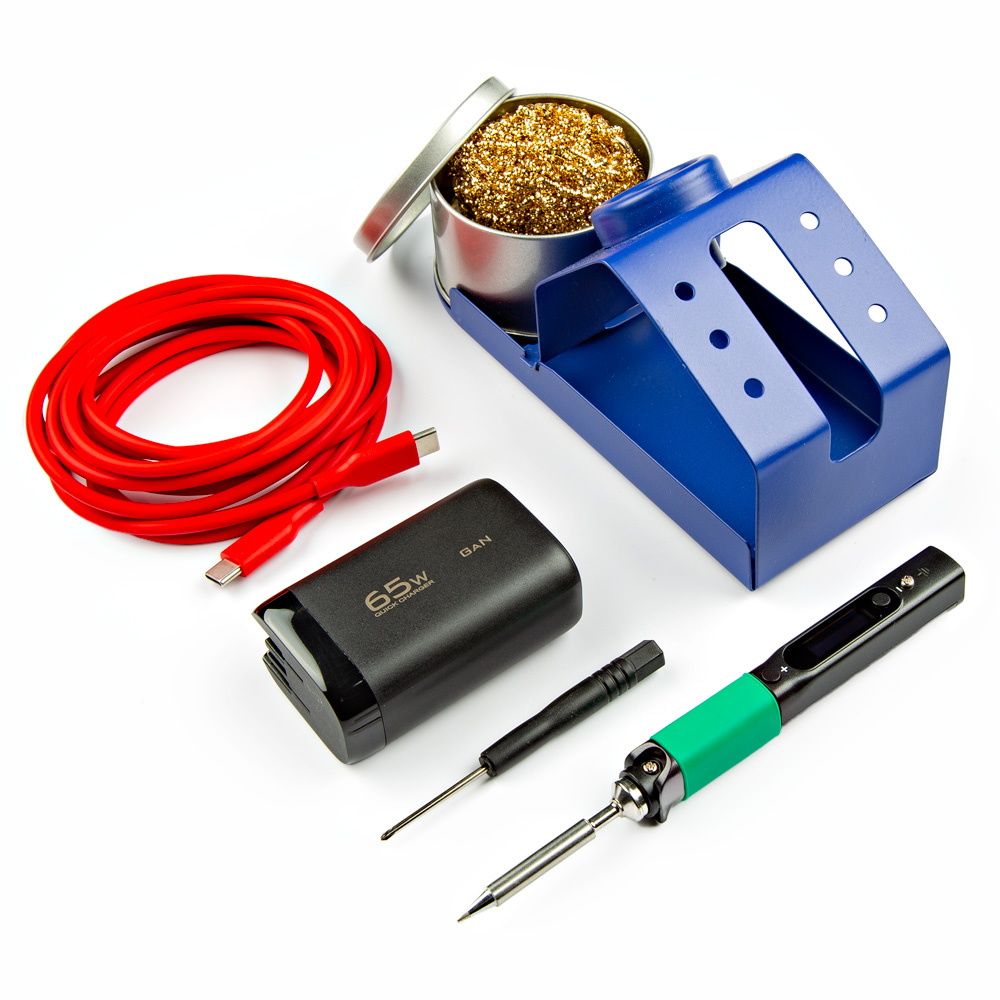
**PINECIL Soldering Iron Kit**<br>
KIT-24063</a>
- <a href="https://www.sparkfun.com/products/14579">
<figure markdown>
</figure>
---
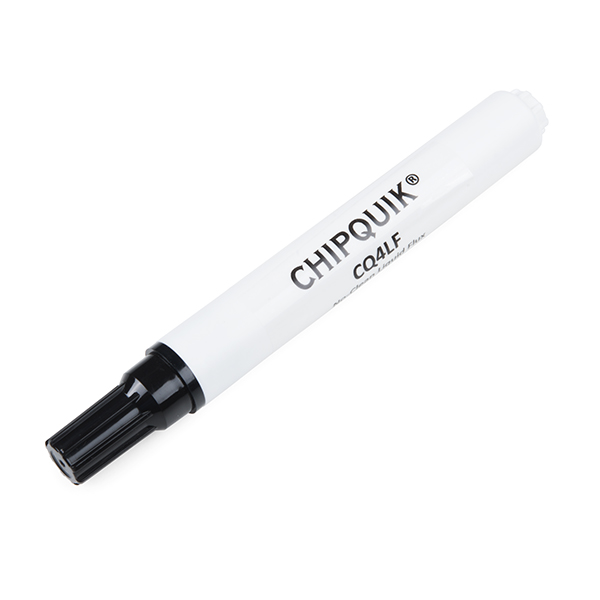
**Chip Quik No-Clean Flux Pen - 10mL**<br>
TOL-14579</a>
- <a href="https://www.sparkfun.com/products/15187">
<figure markdown>
</figure>
---
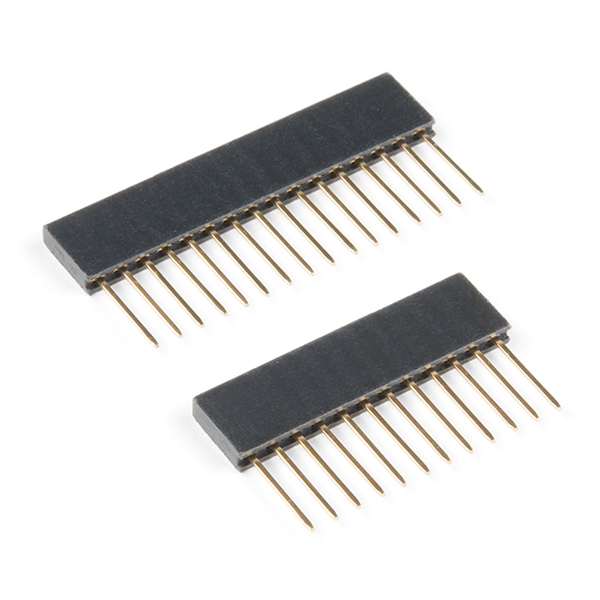
**Feather Stackable Header Kit**<br>
PRT-15187</a>
- <a href="https://www.sparkfun.com/products/116">
<figure markdown>
</figure>
---
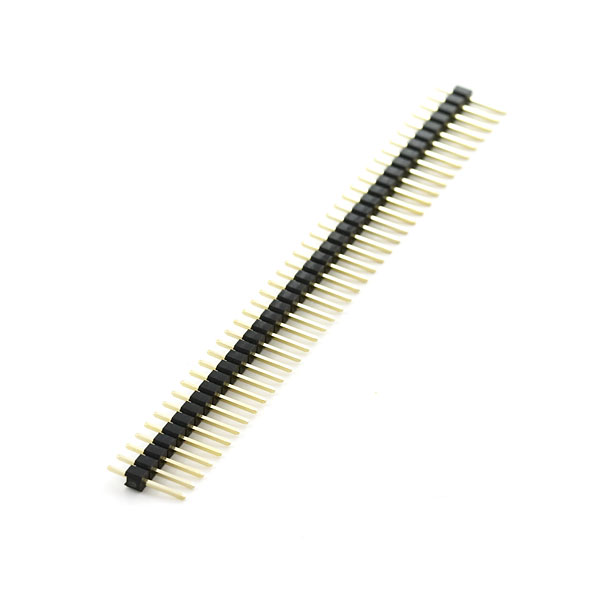
**Break Away Headers - Straight**<br>
PRT-00116</a>
- <a href="https://www.sparkfun.com/products/11375">
<figure markdown>
</figure>
---
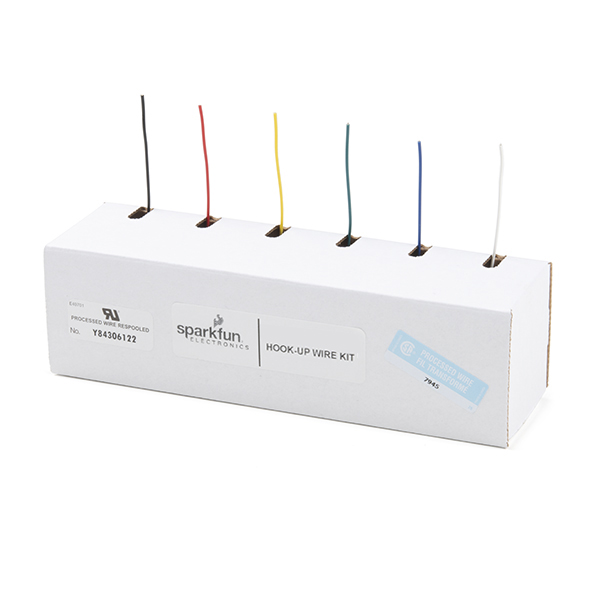
**Hook-Up Wire - Assortment (Stranded, 22 AWG)**<br>
PRT-11375</a>
</div>
??? note "Li-Po Battery" For mobile applications, users will want to pick up a single-cell LiPo battery from our catalog.
<div class="grid cards col-4" markdown>
- <a href="https://www.sparkfun.com/products/13855">
<figure markdown>

</figure>
---
**Lithium Ion Battery - 2Ah**<br>
PRT-13855</a>
- <a href="https://www.sparkfun.com/products/13851">
<figure markdown>

</figure>
---
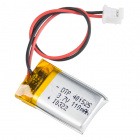
**Lithium Ion Battery - 400mAh**<br>
PRT-13851</a>
- <a href="https://www.sparkfun.com/products/13813">
<figure markdown>

</figure>
---
**Lithium Ion Battery - 1Ah**<br>
PRT-13813</a>
- <a href="https://www.sparkfun.com/products/13853">
<figure markdown>
</figure>
---
**Lithium Ion Battery - 110mAh**<br>
PRT-13853</a>
</div>
??? note "Qwiic Devices and Cables" Our Qwiic connect system is a simple solution for daisy chaining I^2^C devices without the hassle of soldering or checking wire connections. Check out other Qwiic devices from our catalog.
<div class="grid cards col-2" markdown>
- <a href="https://www.sparkfun.com/products/15081">
<figure markdown>
</figure>
---
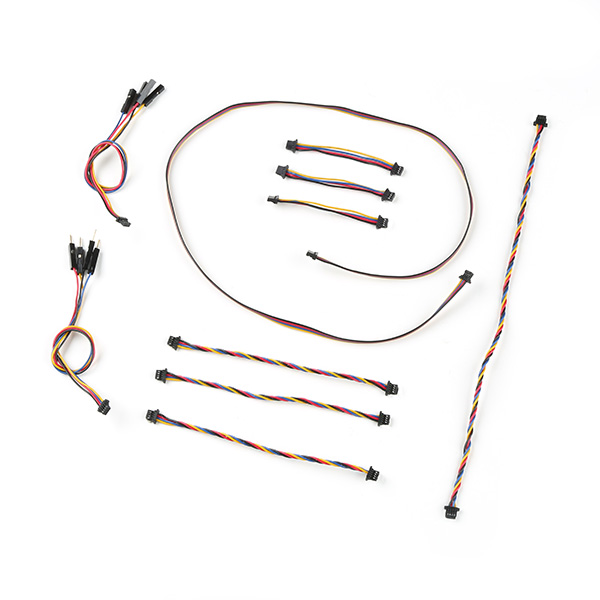
**SparkFun Qwiic Cable Kit**<br>
KIT-15081</a>
- <a href="https://www.sparkfun.com/products/15109">
<figure markdown>
</figure>
---
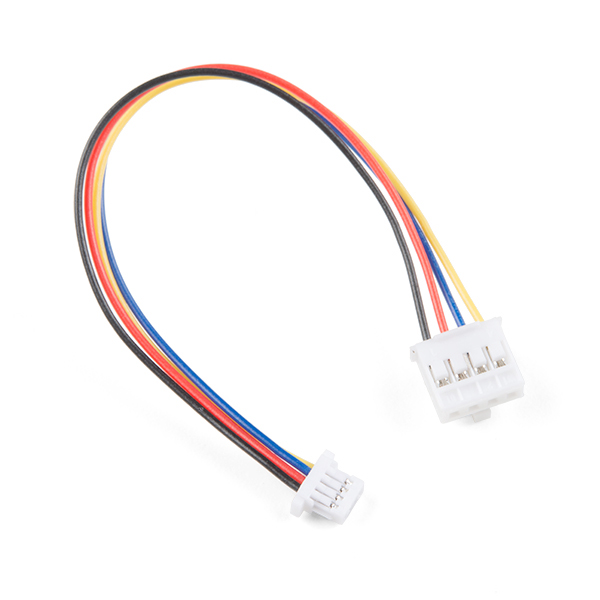
**Qwiic Cable - Grove Adapter (100mm)**<br>
PRT-15109</a>
- <a href="https://www.sparkfun.com/products/23453">
<figure markdown>
</figure>
---
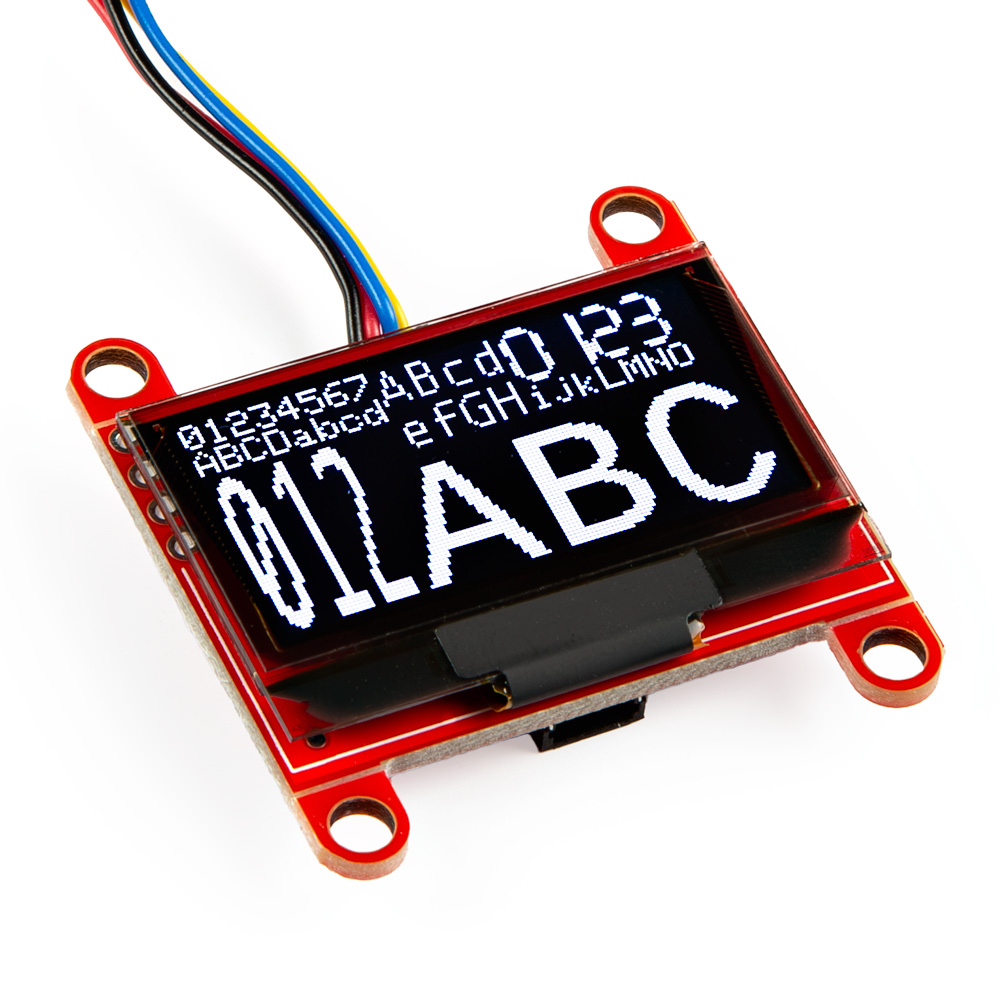
**SparkFun Qwiic OLED - (1.3in., 128x64)**<br>
LCD-23453</a>
- <a href="https://www.sparkfun.com/products/14414">
<figure markdown>
</figure>
---
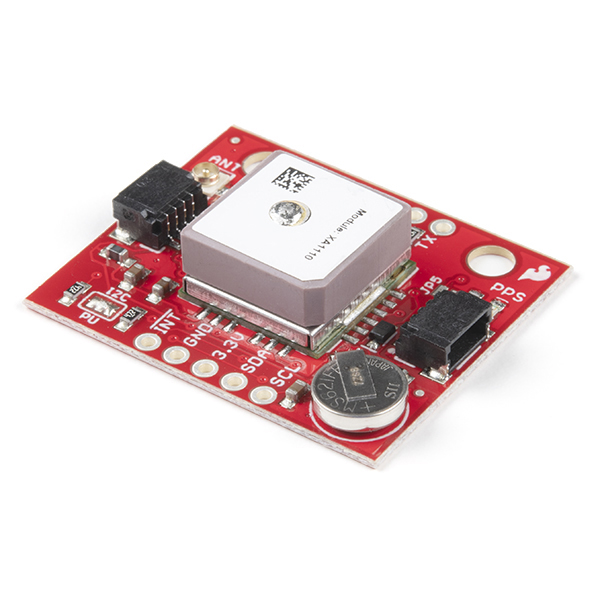
**SparkFun GPS Breakout - XA1110 (Qwiic)**<br>
GPS-14414</a>
- <a href="https://www.sparkfun.com/products/15168">
<figure markdown>
</figure>
---
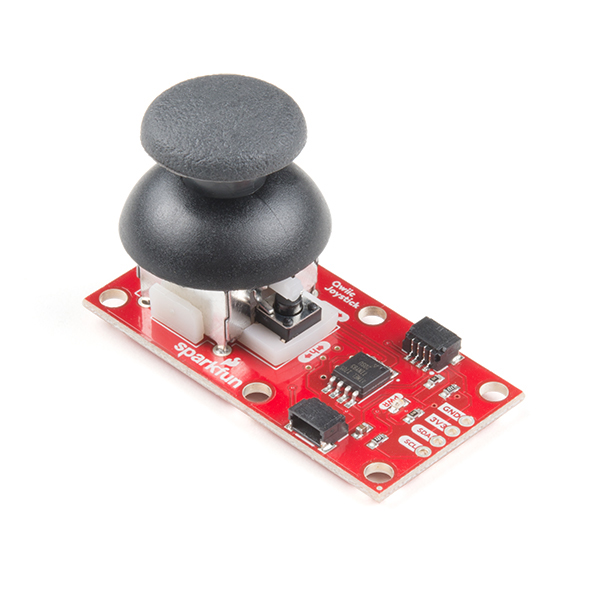
**SparkFun Qwiic Joystick**<br>
COM-15168</a>
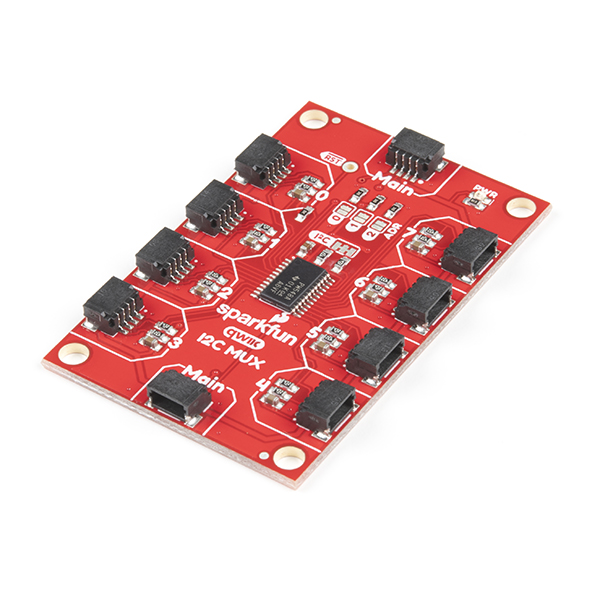
- <a href="https://www.sparkfun.com/products/16784">
<figure markdown>
</figure>
---
**SparkFun Qwiic Mux Breakout - 8 Channel (TCA9548A)**<br>
BOB-16784</a>
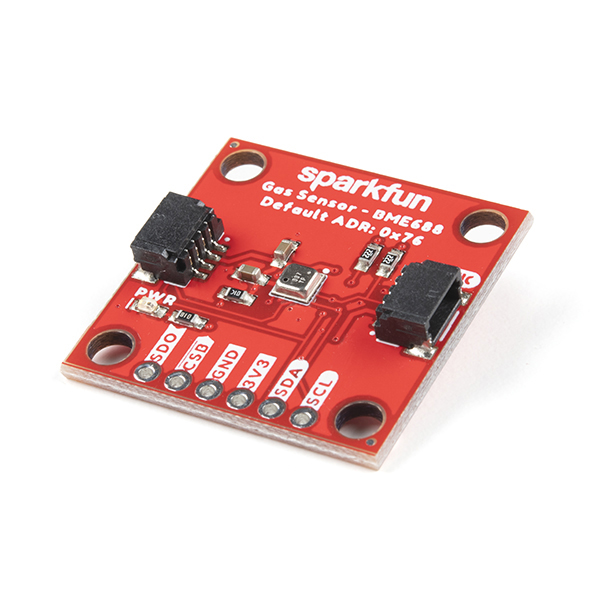
- <a href="https://www.sparkfun.com/products/19096">
<figure markdown>
</figure>
---
**SparkFun Environmental Sensor - BME688 (Qwiic)**<br>
SEN-19096</a>
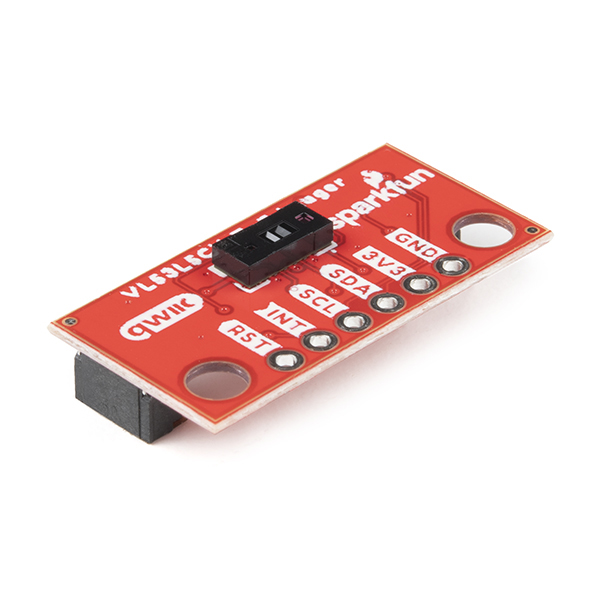
- <a href="https://www.sparkfun.com/products/19013">
<figure markdown>
</figure>
---
**SparkFun Qwiic Mini ToF Imager - VL53L5CX**<br>
SEN-19013</a>
</div>
!!! tip "What is Qwiic?"
<div class="grid" markdown>
<div markdown>
<!-- Qwiic Banner -->
<center>
[{ width=400 }](https://www.sparkfun.com/qwiic)
[{ width=400 }](https://www.sparkfun.com/qwiic)
</center>
---
The [Qwiic connect system](https://www.sparkfun.com/qwiic) is a solderless, polarized connection system that allows users to seamlessly daisy chain I^2^C boards together. Play the video, to learn more about the Qwiic connect system or click on the banner above to learn more about [Qwiic products](https://www.sparkfun.com/qwiic).
</div>
<div style="max-height=400px;" markdown>
<center>
<div class="video-500px">
<iframe src="https://www.youtube.com/embed/x0RDEHqFIF8" title="SparkFun's Qwiic Connect System" frameborder="0" allow="accelerometer; encrypted-media; gyroscope; picture-in-picture" allowfullscreen></iframe>
{ .qr width=100 }
</div>
</center>
</div>
</div>
!!! info "Features of the Qwiic System"
=== "No Soldering"
{ align="left" width="90" }
{ align="left" width="90" }
Qwiic cables (4-pin JST) plug easily from development boards to sensors, shields, accessory boards and more, making easy work of setting up a new prototype.
=== "Polarized Connector"
{ align="left" width="90" }
{ align="left" width="90" }
There's no need to worry about accidentally swapping the `SDA` and `SCL` wires on your breadboard. The Qwiic connector is polarized so you know you’ll have it wired correctly every time.
The part numbers for the PCB connector is `SM04B-SRSS` ([Datasheet](https://cdn.sparkfun.com/assets/parts/1/2/2/8/9/Qwiic_Connector_Datasheet.pdf)) and the mating connector on the cables is `SHR04V-S-B`; or an equivalent *1mm pitch, 4-pin JST connection*.
=== "Daisy Chain-able"
{ align="left" width="90" }
{ align="left" width="90" }
It’s time to leverage the power of the I^2^C bus! Most Qwiic boards will have two or more connectors on them, allowing multiple devices to be connected.
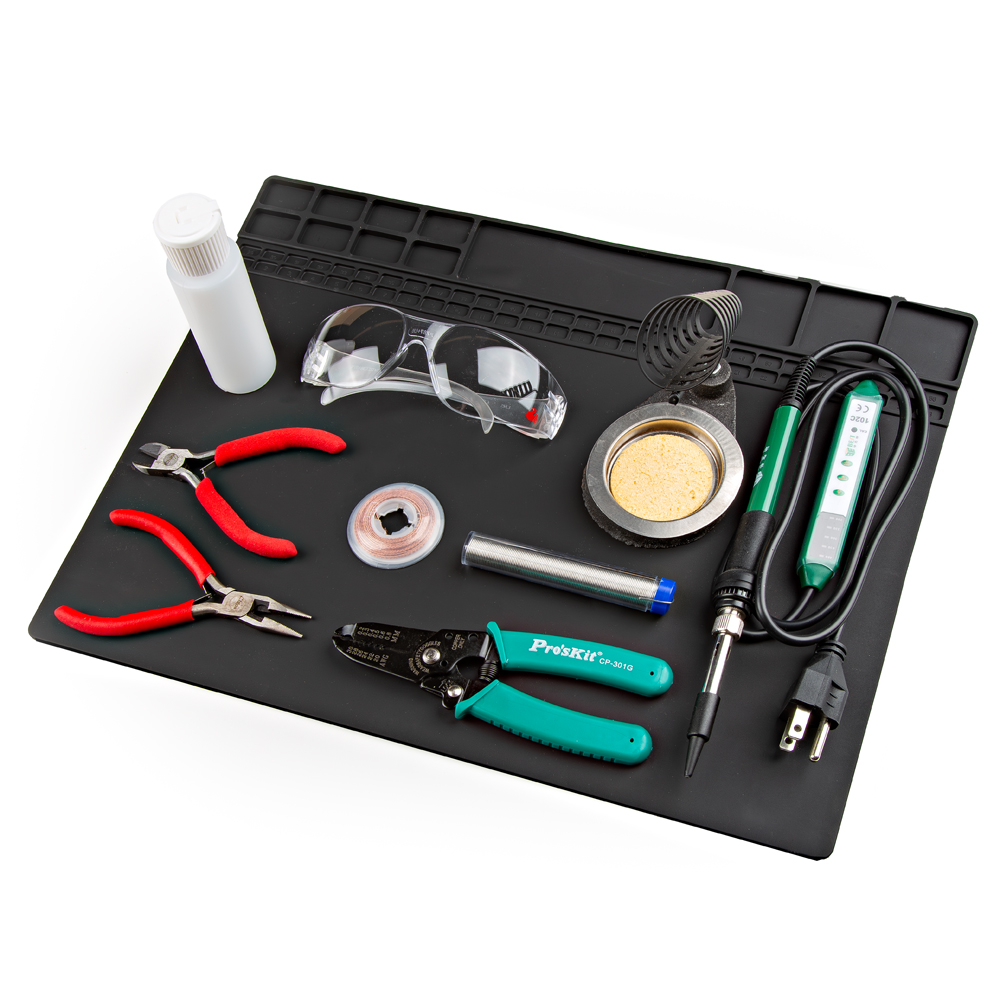
??? note "Jumper Modification" To modify the jumpers, users will need soldering equipment and/or a hobby knife.
!!! tip "New to jumper pads?"
Check out our [Jumper Pads and PCB Traces Tutorial](https://learn.sparkfun.com/tutorials/664) for a quick introduction!
<div class="grid cards col-4" markdown align="center">
- <a href="https://learn.sparkfun.com/tutorials/664">
<figure markdown>

</figure>
---
**How to Work with Jumper Pads and PCB Traces**</a>
</div>
<div class="grid cards col-4" markdown>
- <a href="https://www.sparkfun.com/products/22265">
<figure markdown>
</figure>
---
**SparkFun Beginner Tool Kit**<br>
TOL-22265</a>
- <a href="https://www.sparkfun.com/products/9200">
<figure markdown>
</figure>
---
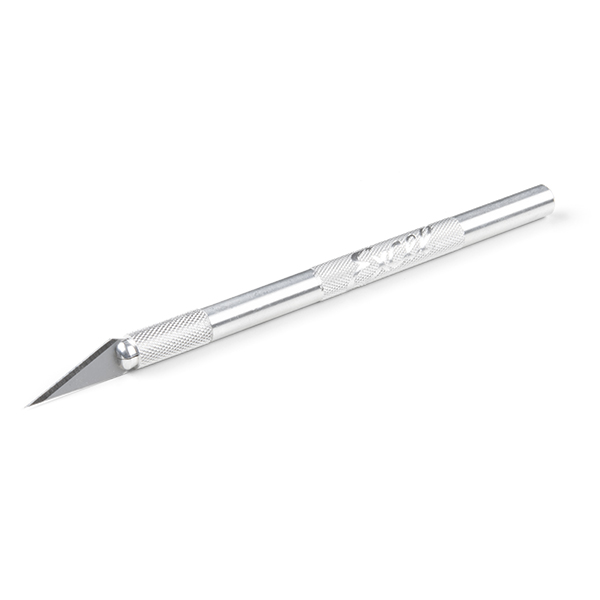
**Hobby Knife**<br>
TOL-09200</a>
- <a href="https://www.sparkfun.com/products/14579">
<figure markdown>

</figure>
---
**Chip Quik No-Clean Flux Pen - 10mL**<br>
TOL-14579</a>
</div>
As a more sophisticated product, we will skip over the more fundamental tutorials (i.e. Ohm's Law and What is Electricity?). However, below are a few tutorials that may help users familiarize themselves with various aspects of the board.
-

Installing the Arduino IDE
-
Installing an Arduino Library
-
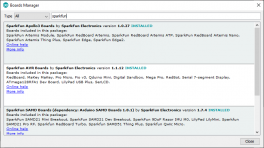
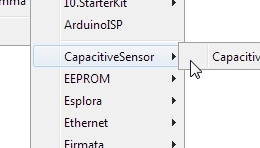
Installing Board Definitions in the Arduino IDE
-
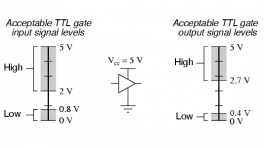
Logic Levels
-

Analog vs. Digital
-
Analog to Digital Conversion
-
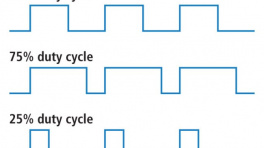
Pulse Width Modulation
-
Serial Communication
-

Serial Terminal Basics
-
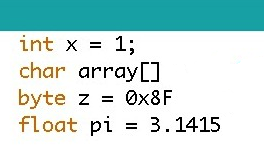
Data Types in Arduino
-
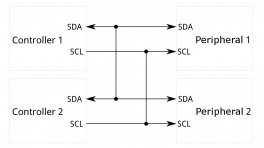
I2C
-
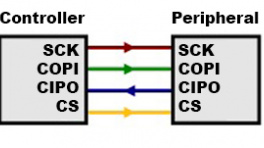
SPI
-
Processor Interrupts with Arduino
-

How to Solder: Through-Hole Soldering
-

How to Work with Jumper Pads and PCB Traces
-
Integrated Circuits