Feb 14, 2023 - Franky Jr Blondeel (my birthday!)

Live version here
Tindog was the solo project of Module 7 (advanced JavaScript) over at scrimba.com's front-end developer career path course. The goal was to build a simple tinder clone, using Javascript classes, as a perfect closer for what had been taught in the previous couple of scrims.
Below are the requirements:
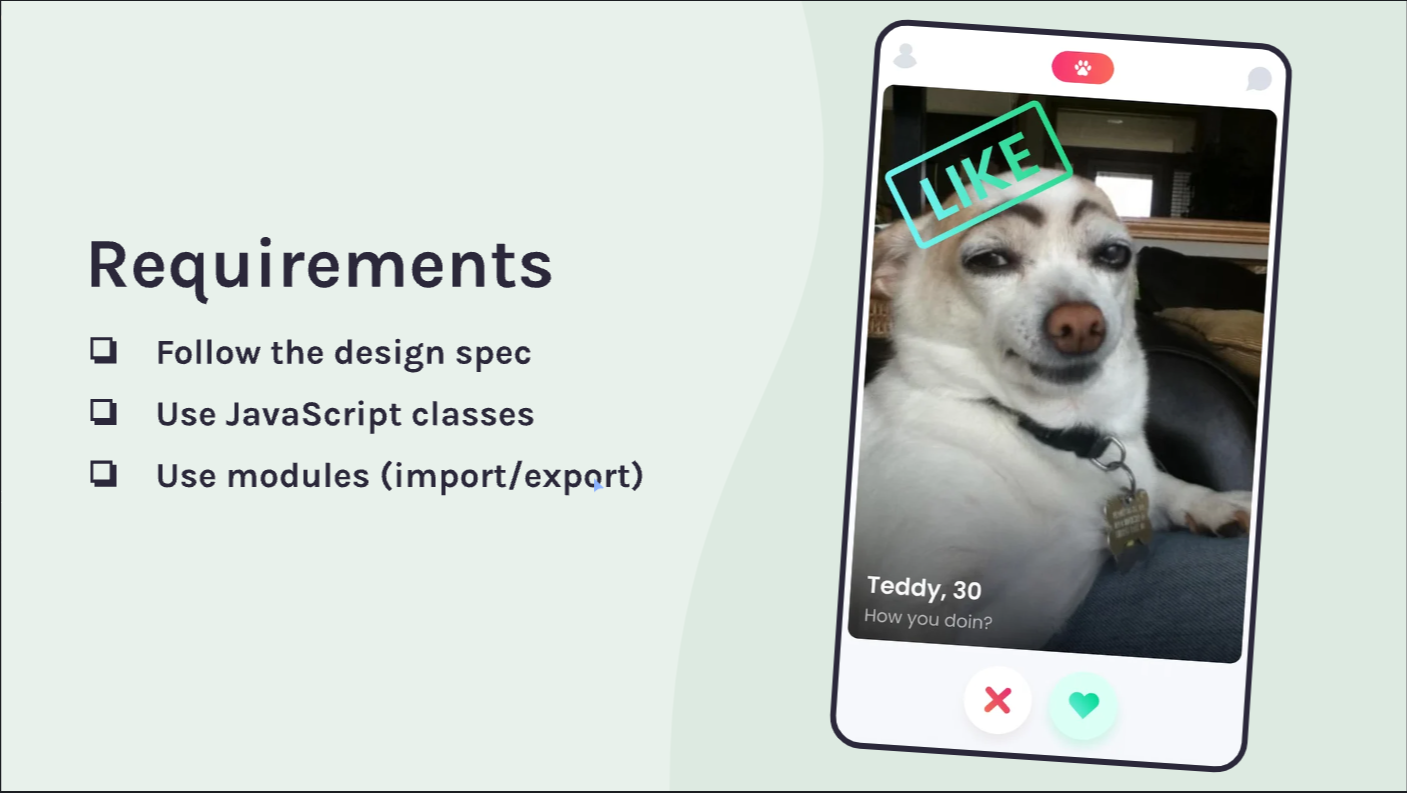
We also got provided a Figma design, and part of the goal was to follow that design.
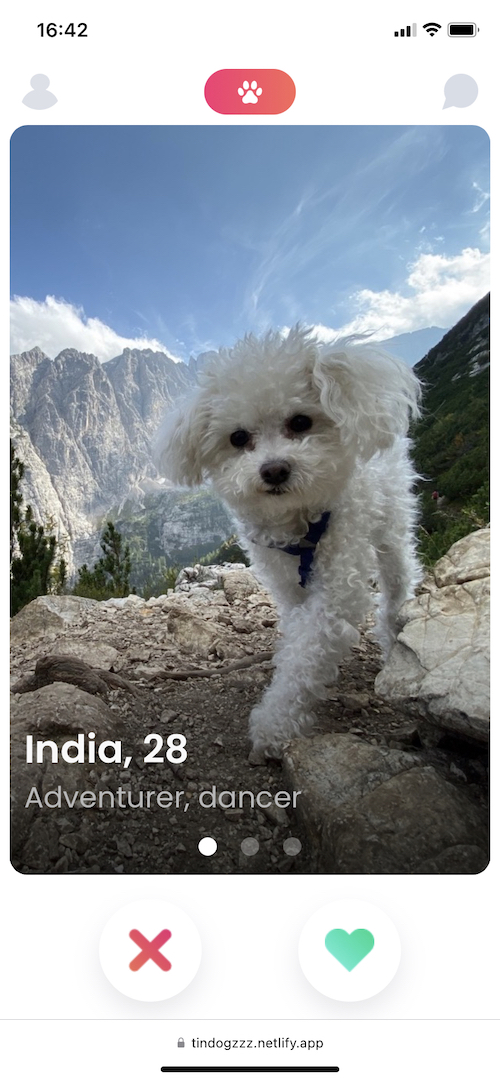
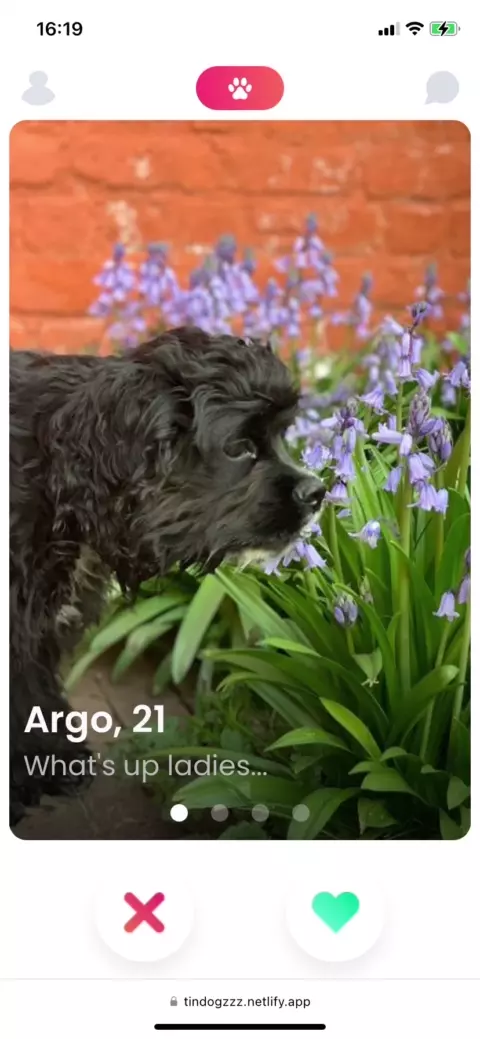
Originally, I wanted to build the app just as seen in the screenshot. This meant 100% I should follow the Figma design, which is a mobile first approach. I started by creating a hard-coded mockup in HTML, so I could fine-tune all the CSS, before I pulled anything in dynamically over Javascript
As was also part of the requirement, I created one main class 'Dog' which I would use to pull in all kinds of data related to the dog:
- age of the dog
- bio of the dog
- name
- avatar
Additionally, some 'invisible' data is also part of the dog and that is wether or not the dog was swiped and/or was liked.
I have to say that building the base-app was quite a blast, and honestly, not hard at all. The biggest joy for me is noticing how my way of thinking is really starting to change with each passing week. Also, Tindog was really rewarding in the fact that I could put all my friends' dogs in the app, which they all loved :D
It didn't take me too long to set some stretch goals and to think of some extra's I wanted to see in the app.
For this particular assignment, no real stretch goals were set. However, I didn't think it too hard to come up with a couple of interesting extras myself.
First issue I encountered after the first version of the app was published online, was the fact that it seemed hard to get a proper vertical scaling going on Safari or on mobile browsers in general. Basically, what I noticed is that Safari didn't play nice with '100vh' did not play nice on Safari with the collapsable toolbars. When you landed on the Tindog home screen, the toolbar would obscure part of the '100vh' body element. So I scanned around google to find some piece of code that would fix this and take it into account. By looking at the window.innerHeight property, and adjusting the container height to this window.innerHeight, allowed me to keep everything in view of the user, if their toolbars were collapsed or not :)
So I found this:
const convertStyle = () => {
    const height = window.innerHeight;
    Array.from(document.getElementsByClassName("container")).forEach((element) => {
    element.style.height = `${height}px`
    })
}
and this piece of code is run, every time the user loads the page, as well as resizes the window.
Really nice trick that I'll surely be able to use later!!
Furthermore, I just blocked the vertical scrolling on the app entirely. Reason for this was actually introduced later: I wanted to implement a swiping feature, just like the real thing :) And the up/down scrolling bounce did not play nice with my horizontal swiping feature. So I added the following in my CSS:
body:has(.requires-no-scroll) {
    overflow: hidden;
  }
Which seemed to do the job perfectly.

One thing I really wanted to make part of the app is the fact that a dog could have multiple photos on their profile, just like the real Tinder (I think??) The idea is to have some navigation dots appear on the bottom of the photo, if there are multiple photos available. That meant changing the data structure a bit of the data.js file, which contains all the dogs in the system, to hold an array of relative URLs. If multiple are available, that meant there are multiple pictures.
Next up, I needed to make the left and right sides of the pictures clickable, in order to load in the next or the previous pictures.
I first did this by setting up big <a> elements that covered the entire left and right side of the pictures. Something I had to refactor later entirely (due to the swipe feature I had to introduce)
It was a bit of a search, but in the end, I could easily navigate through pictures, and it really brought the app to life!
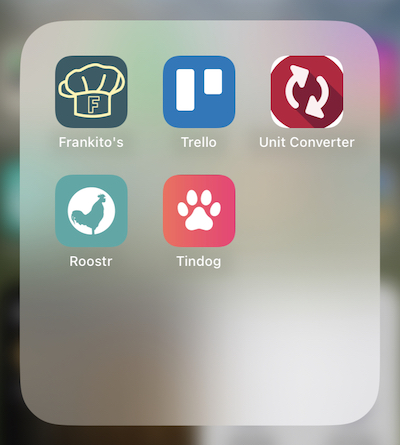
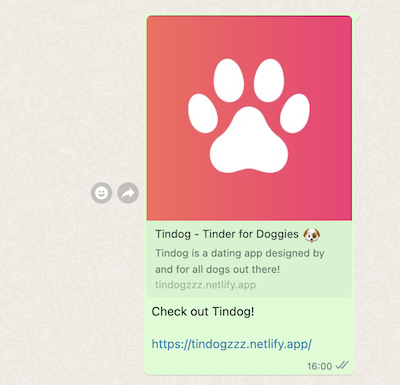
Next up, I spent some attention on the details, adding some icons to the site (like favicons, apple touch logos, etc).
It really made the whole thing look a lot nicer when sharing to other people over Whatsapp and such!
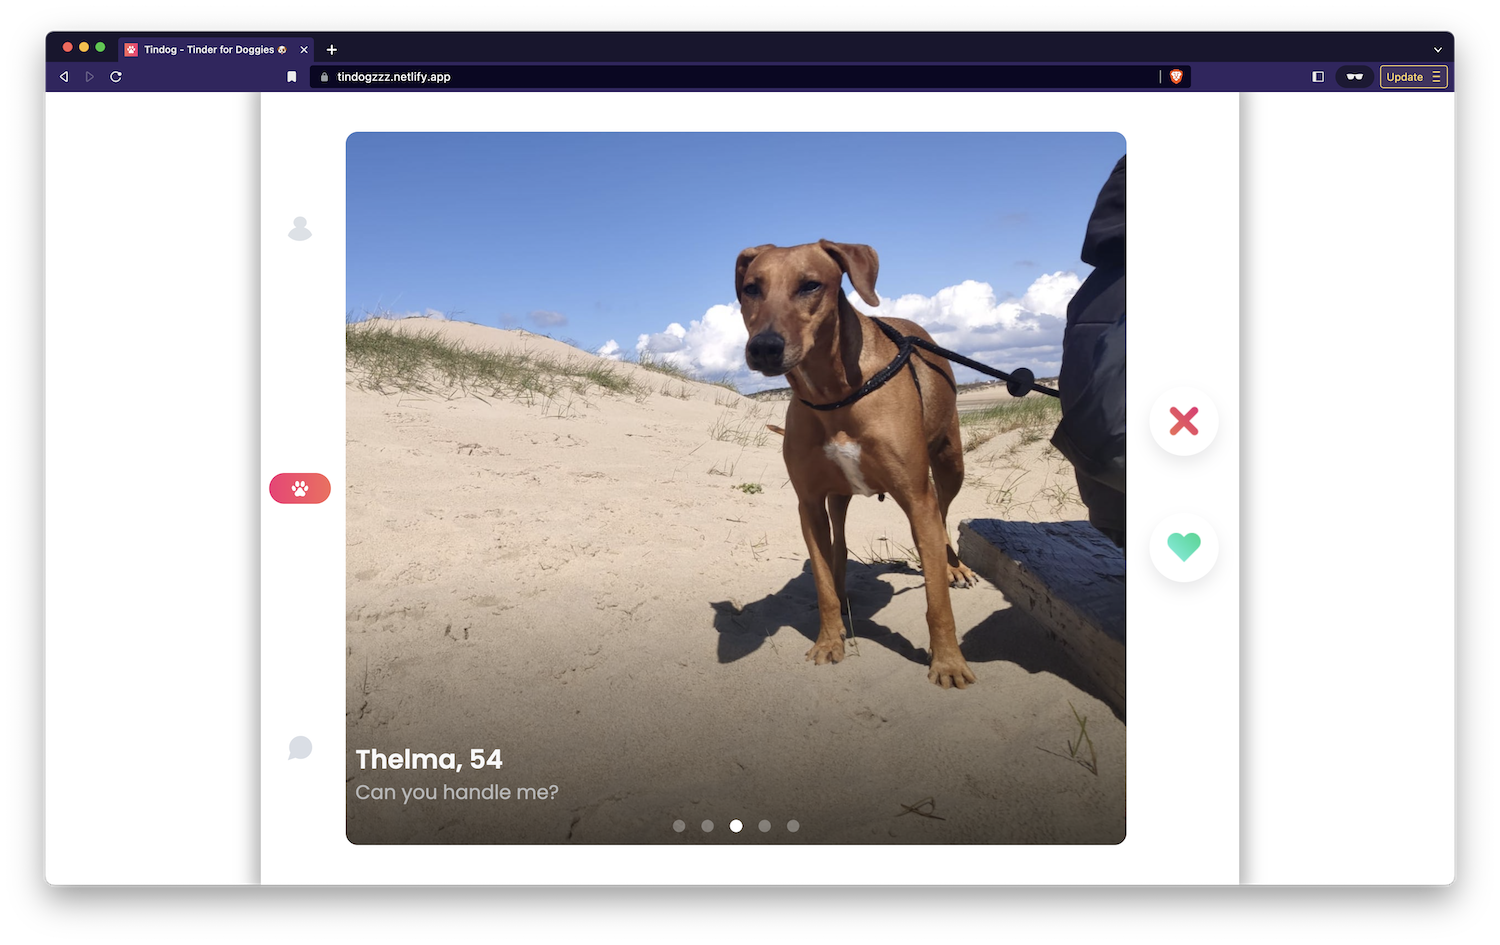
Up next, another challenge. Now that the basics of the app were really starting to get fleshed out, I focused a bit on the desktop version. Following the original Figma design, the app only took into account that it would be viewed on a narrow screen. So what I did is added a couple of media queries, which rearranged the entire thing to look a lot nicer on bigger screens, with a max width of 1200px. Check out the result below:
One thing that would really take the app to the next level would be to implement actual swiping. So I had to go on a google hunt to make that happen, as I wasn't totally sure if it was even possible.
So ended up stumbling on this site: https://codingartistweb.com/2022/09/how-to-detect-swipe-direction-with-javascript/ The site had a really nice tutorial on how to detect where a user swiped to. I started out copy and pasting parts of the code, which I knew I could use, and dropped other parts that I did not need (e.g. the up/down detection)
Just looking at this piece of code, I learnt so much! From the actual detection of which device is used, to extracting where a user clicks. MouseEvents vs TouchEvents and ClientX and ClientY to determine the positions of clicks or touches.
After a while, and with some tweaking, I got the swipe-motion done!
The code was surprisingly easy to transfer to my project. I tried to really do it mindful and only keep the parts I actually need (which you can only determine if fully understand the thing).
One thing that helped me understand the code better was to transfer it out to the different JS modules I had already. That way I really had to deconstruct the whole thing and understand what hooked into where.
Now I did run into one big issue, which was the left and right photo tapping I had implemented earlier, to allow users to navigate in between photos of the dogs. When you swiped, the app seemed to think you're also clicking on either the left or right side of the image (depending on where your finger or mouse was) This was problematic, because upon 'releasing' the swipe, the app would load in the next image, which also triggered a new HTML render, which then overwrote the 'Like' or 'Dislike' badges on top of the photos... Also, I just didn't want to load in the next picture.
Luckily, this bug had a really elegant fix, because with the updated swipe feature, I was already tracking where the finger or mouse was! So in fact, I could potentially get rid of the nasty <a> elements, which were a dirty implementation in the first place, imo. I just had to tell the system two things now:
- was this an actual swipe: meaning, build in a minimum amount of swiping distance, before it's counted as a swipe
- if it's not a swipe, it's a click
- if it's a click, where did they click? was it over 50% of the total screen pixel value on the X-axis? or not?
Since 90% of the touch code was already in place, it was really easy to add in this extra bit of functionality. And it cleaned the whole thing up by a lot too.
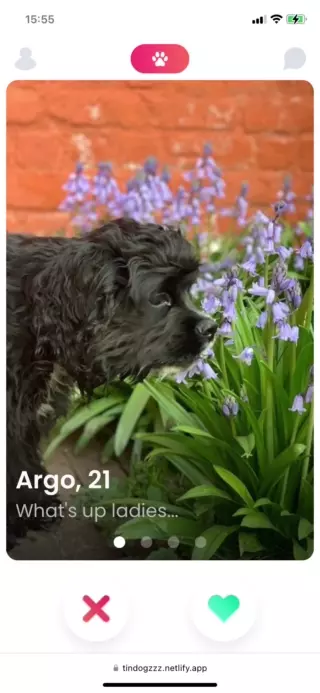
The app was nearing it's completion ;) Time to add more dogs, and I sent my work around to a couple of people. I luckily have a lot of friends who are crazy about dogs, so it wasn't hard to find some extra ones to put into the app. There's even a rogue cat in there! They didn't get the message I think...
So, now the app was running quite nicely locally. But when testing online on the deployed netlify version, I noticed some of the pictures loaded slowly, when clicking next and previous. Unacceptable by today's standards, so it had to change.
Changing the size of the images would not change too much, since they weren't too big to begin with. But what if the pictures were already in memory before the user actually clicked next?
So I went on the hunt to make that happen, added this piece of code into the HTML building part:
function preLoadAvatars(avatarArray) {
    for (let i=0; i < avatarArray.length; i++) {
        const img = new Image()
        img.src=avatarArray[i]
    }
}
And it changed the entire experience of the app, even though, the initial loading now probably became a tiny bit slower. This feels a lot better tbh, so I kept it in.
I now stopped development of this particular assignment, I think I have taken it far enough for now, even though, there's tonnes of extra stuff I could do.
- allowing people to create their own profile
- creating a second instance of 'dog' when starting the app. That way, if you swipe, you already catch a glimpse of the next dog behind it. It would make the whole swiping experience a lot nicer.
- allowing people to upload there own dog: people just kept asking me to add their dog onto the app, so I wanted to allow them to do it themselves :)
But hey, you can always keep going on a particular project. I'm freezing it for now, in favor of progressing with the course and gain some extra knowledge.
It would be really nice to have an actual database behind it in the future. We'll see
Tindog was an absolutely awesome assignment and really pushed me further than ever to make the app more fun to use. My creativity got sparked with this one, and I really hope I can maybe make it more advanced in the future.
On to the next! Happy coding!