GitHub workflow using GitHub Desktop
The following page describes the GitHub workflow using the GitHub Desktop for
NHS-Practitioners-Guide
Note: The desktop version of GitHub can be downloaded here
Use the fork button on the official repository to fork the repository to your personal GitHub account. This function will create a copy of the official repository on you personal account.

Next, the forked repository on your personal GitHub account must be cloned to your local machine. To do this using GitHub Desktop, navigate to file > clone repository. Next, select the forked repository on your GitHub account, and select a path to store the cloned repository.
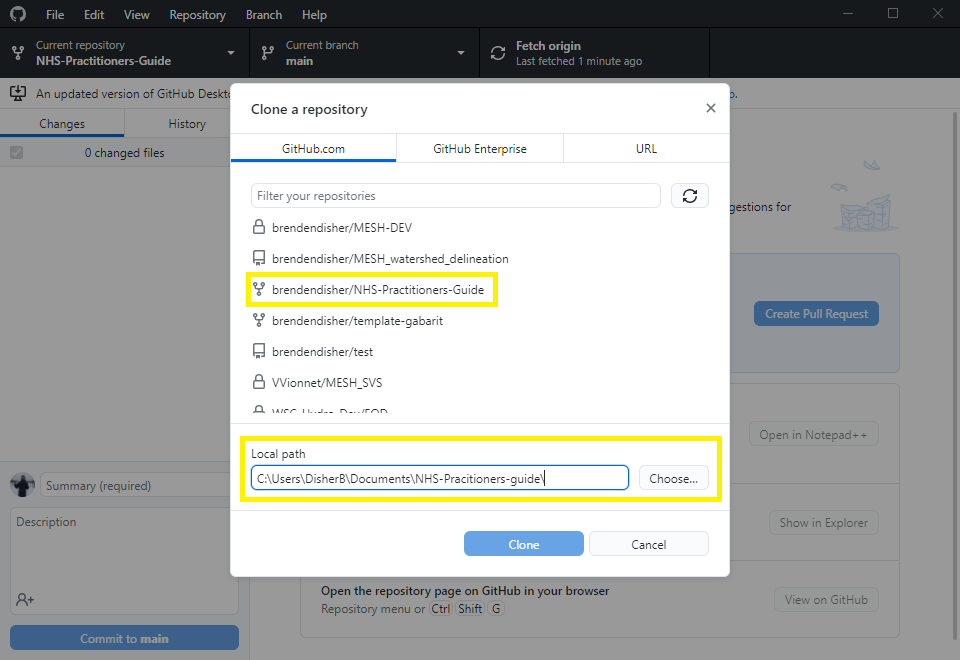
After selecting clone, the repository should be available.
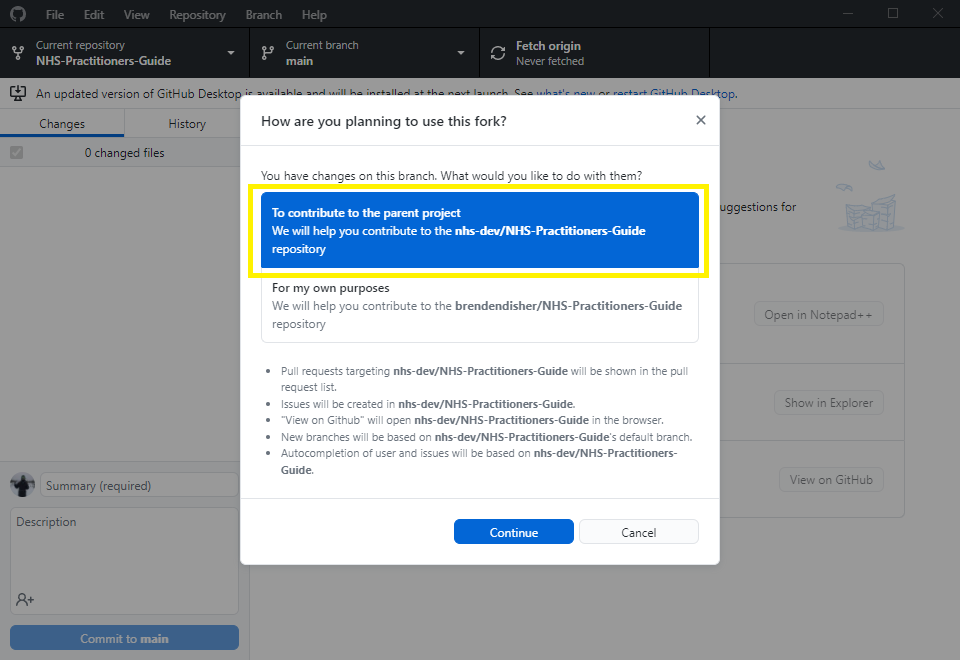
GitHub desktop will automatically set upstream and origin remotes. To do so, select To contribute to the parent project
It is important to frequently keep your local repository up-to-date with updates from the official repository.
The Fetch button within the app can be used to keep the repository up-to-date.
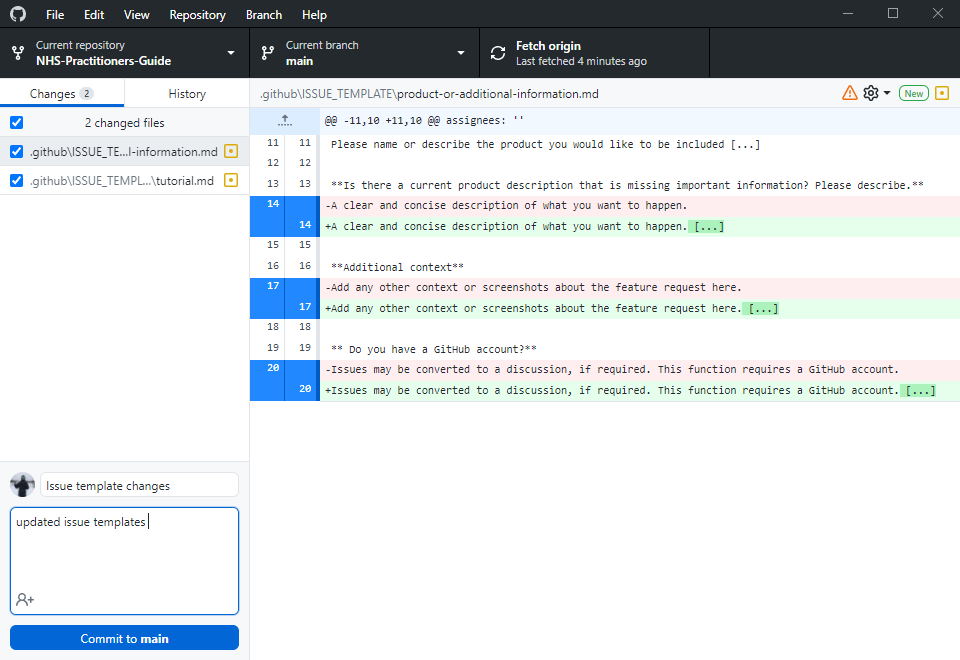
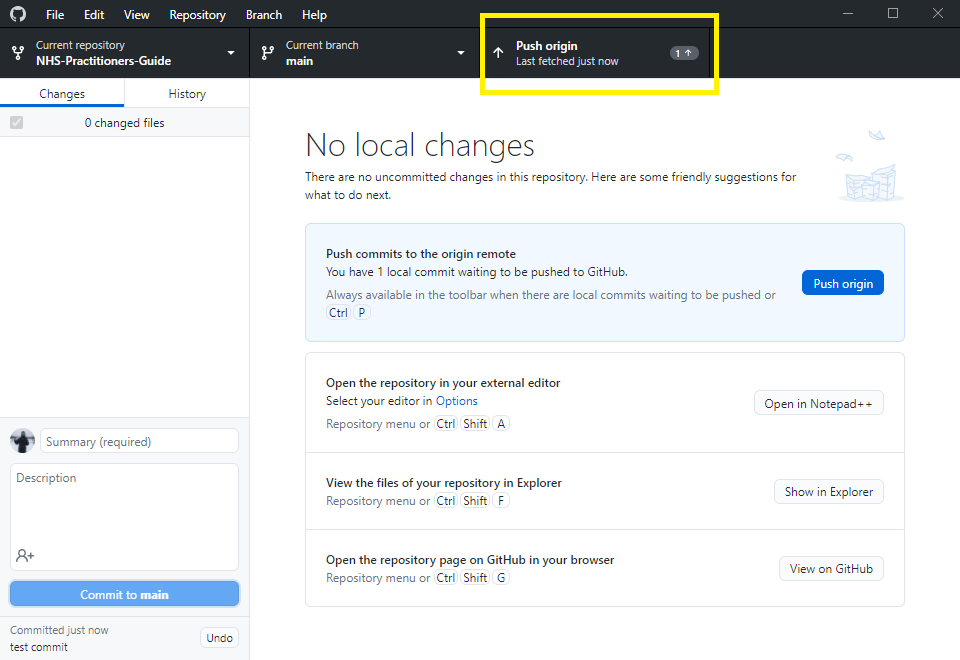
After making and saving your changes, they will appear in GitHub Desktop application. Add a summary and description describing what was changed, then commit the changes by selecting commit to main.
After committing the changes, push them to origin.
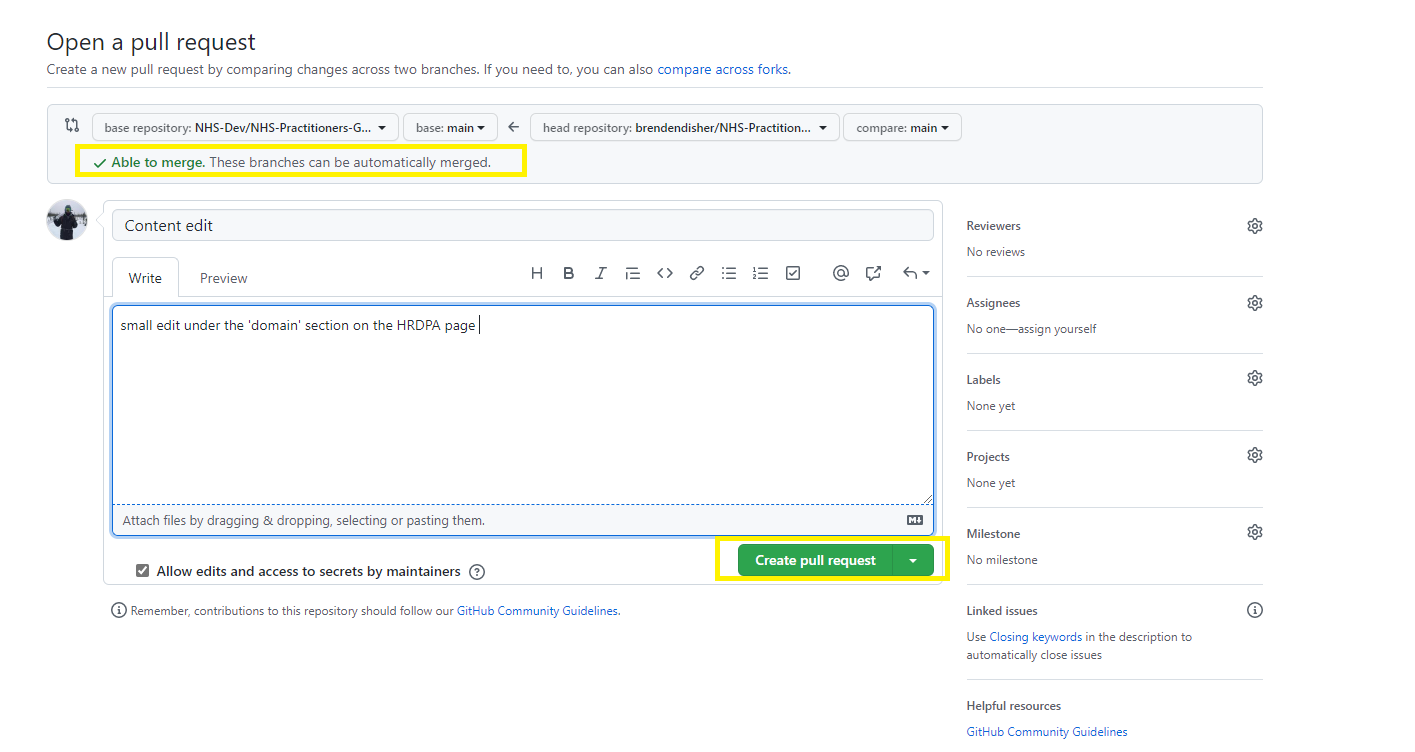
In the desktop app, navigate to Branch > Create pull request
Note: In the desktop application, the
head repositoryandbase repositoryare automatically populated. Ensure this information is correct before proceeding.
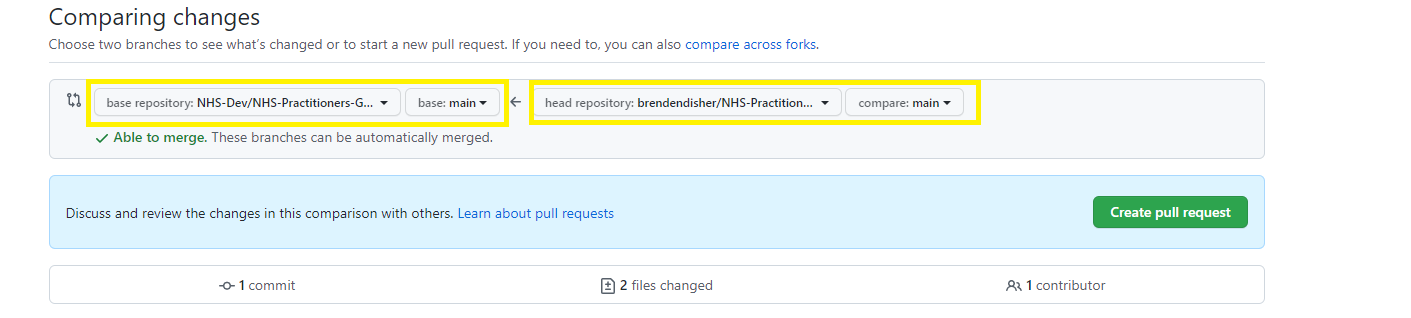
Next, the changes will be compared between each forked branch.
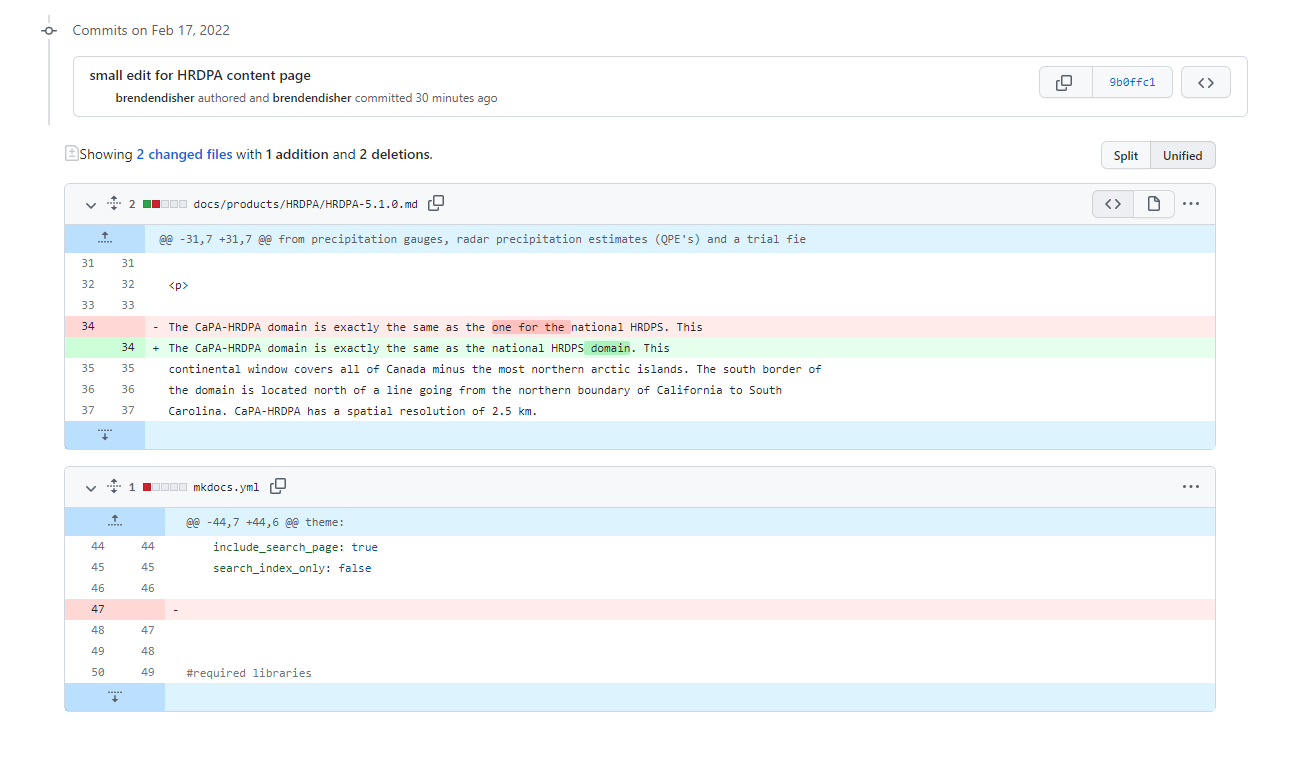
Finally, complete the pull request and create a message stating what changes were made.