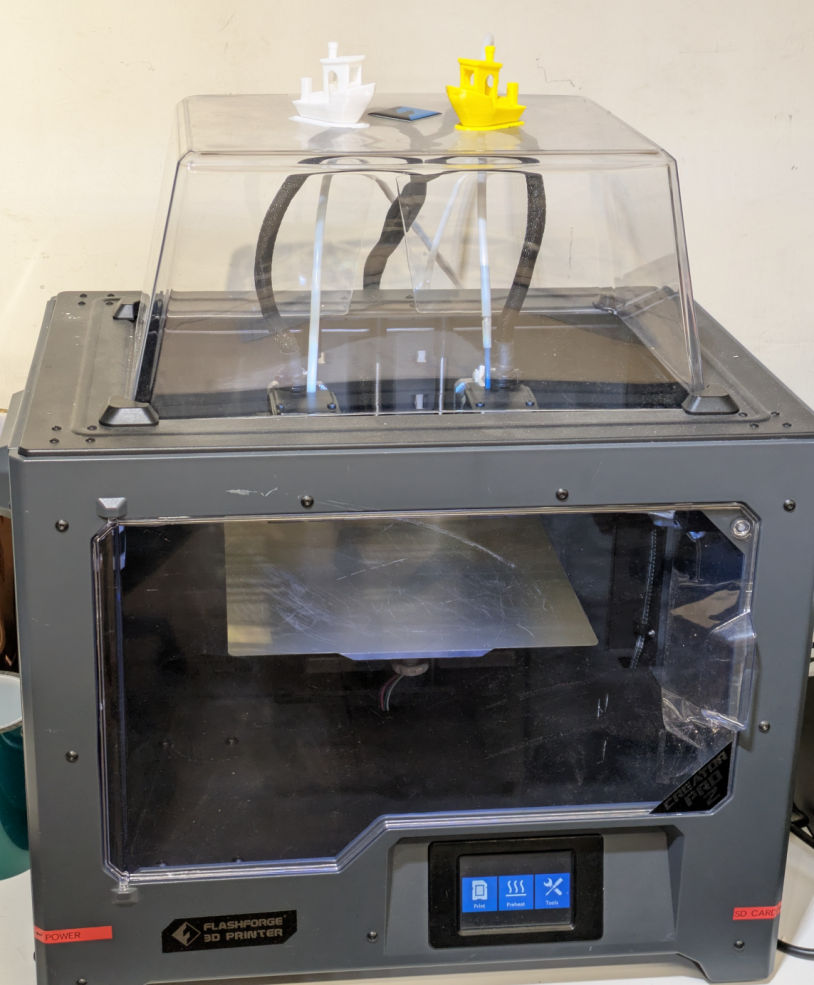
3D Lab FF Creator Pro 2 tutorial
Manufacturer page: https://www.flashforge.com.hk/store/p8/creator-pro-2.html
This is currently our recommended machine for beginners. It is sturdy, accurate, and the dual extruder design allows experimenting with materials and supports.
- Build volume: 200 X × 148 Y × 150 Z
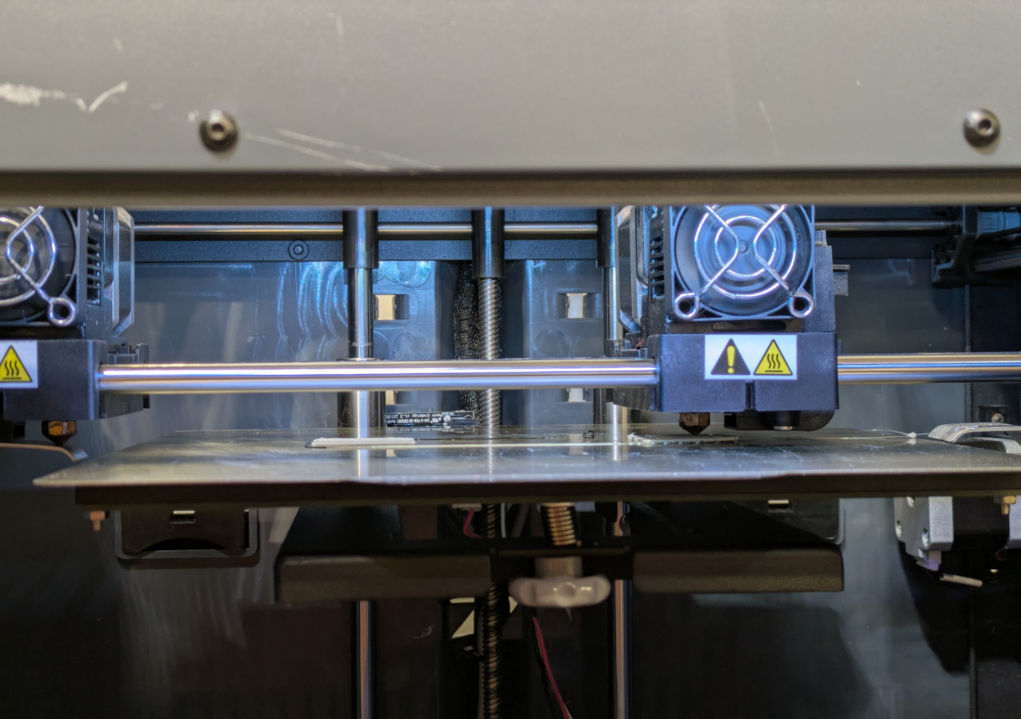
- Extrusion: direct drive with gap, 0.4mm bronze (left), 0.4mm bronze (right)
- Recommended materials: PLA
- Possible materials: PLA+PVA, PETG, HIPS, ASA (we don't have yet)
- Not recommended: ABS (until we install ventilation), flex
For this tutorial, we'll assume you've already prepared the model in a 3D printing format like 3MF or STL. Now you need to slice it to G-code and send it to the printer.
Other slicers may work, but for this article we'll use the official one.
Get the FlashPrint installer from the SD card:
FlashPrint切片软件/FlashPrint_4.3.2_mac.zipFlashPrint切片软件/FlashPrint_4.3.2_win32.zipFlashPrint切片软件/FlashPrint_4.3.2_win64.zipFlashPrint切片软件/flashprint_4.3.2_amd64.deb
Launch FlashPrint. On Linux, the app installs to /usr/share/FlashPrint/FlashPrint.
You will get a brief GUI tutorial on first launch.
After that GUI tutorial, make sure to set the printer model: FlashForge Creator Pro 2.
Load your 3D models:

Position them using the left toolbar.
Use the Extruder tool at the lower left to select the extruder for each part:

Your model will change color to match the extruder (gray / teal).
Where are all the print settings? For this, click the Print button at the top centre. This pops up a window with important settings, such as which materials you're using. To get more settings, enable “Expert mode” under the “File → Preferences” menu.

The app will slice your model and prompt you to save a *.gx file. Save it to the SD card.
Finally you will get a preview of the sliced model:

Note that FlashPrint adds rafts under your models, but you can change this in Expert mode.
If the slicer path looks reasonable, you can now eject the SD card and return it to the printer.
Double check that both extruders have the correct filament.
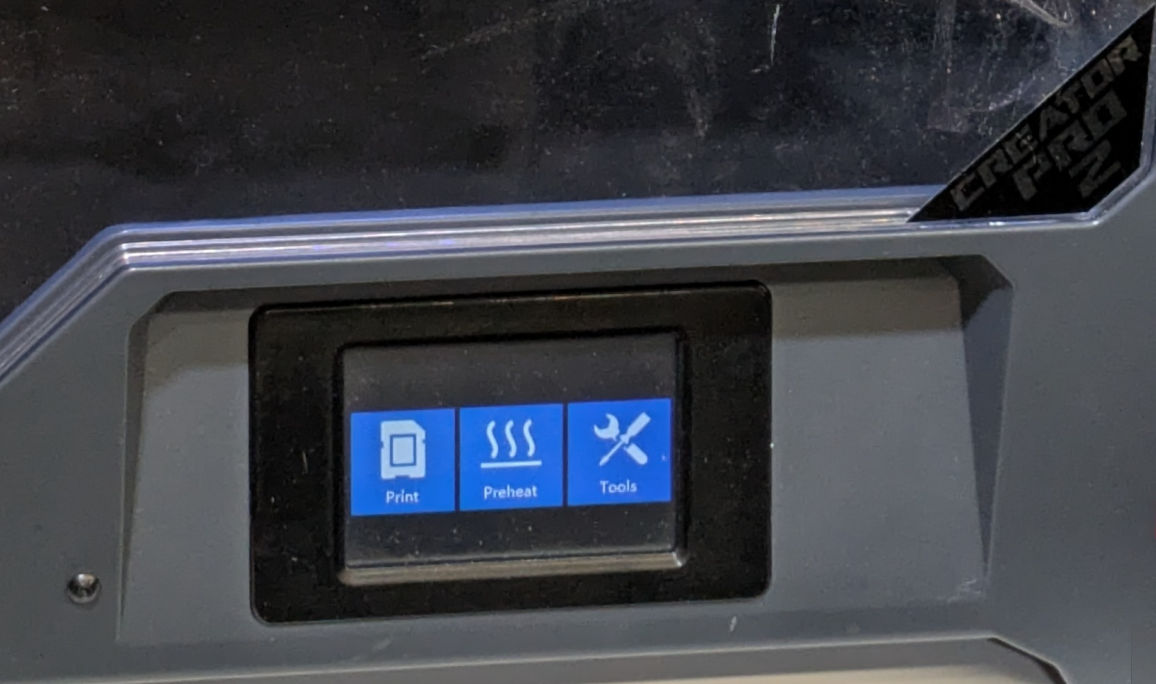
Use the Print touchscreen button to print from the SD card.
Make sure to check the initial layers of all extruders that you're using.
Check the progress from time to time. If the print is failing, you'll need to stop it and find out what's wrong.
When it's done, lift the magnetic build plate and bend it to release the objects.
If any plastic is stuck, use a scraper (from the tool drawer) to pry it off, carefully.
Finally, return the cleaned build plate to the machine.
