Author: [email protected]
Behavrioal Cloning Project
The goals / steps of this project are the following:
- Use the simulator to collect data of good driving behavior
- Build, a convolution neural network in Keras that predicts steering angles from images
- Train and validate the model with a training and validation set
- Test that the model successfully drives around track one without leaving the road
- Summarize the results with a written report
Here I will consider the rubric points individually and describe how I addressed each point in my implementation.
My project includes the following files:
- model.py containing the script to create and train the model
- drive.py for driving the car in autonomous mode
- model.h5 containing a trained convolution neural network
- Analyse_Project_3_data.ipynb used to visualize and observe my training data
- writeup_report.md summarizing the results
Using the Udacity provided simulator and my drive.py file, the car can be driven autonomously around the track by executing
python drive.py model.h5The model.py file contains the code for training and saving the convolution neural network. The file shows the pipeline I used for training and validating the model, and it contains comments to explain how the code works.
The main idea of my model is 6 convoluation layer followed by 4 fully connected layers (with 3 max pooling layers, 2 dropout layers between layers). Also 1 cropping layer and 1 average pooling layer to reduce the input dimen dimension, and 2 dropout layer to prevent overfitting (model.py line 145~185).
The model contains 2 dropout layers in order to reduce overfitting (model.py lines 177~179).
The model was trained and validated on different data sets (80%/20%) to ensure that the model was not overfitting (code line 79). The model was tested by running it through the simulator and ensuring that the vehicle could stay on the track.
The model used an adam optimizer, so the learning rate was not tuned manually (model.py line 25). But it did took some trial and error to find the best recovery angle.
Training data was chosen to keep the vehicle driving on the road by driving both clockwise and counterclockwise for several laps. (avoid data biased toward turning only one direction)
Also, I used a combination of center lane driving, recovering from the left and right sides of the road. For details about how I created the training data, see the next section.
The overall strategy for deriving a model architecture was trail and error.
My first step was to simply create a convolution neural network model similar to the NVidia model. I thought this model might be appropriate because it serves the same purpose as in the NVidia paper and my image resolution is lower so it should be more than enough to drive my car. But really soon I realized that the model was too large to train on CPU, so I reduce the model size by applying the following steps:
- Crop useless parts of the input images (e.g. sky, top and bottom)
- Resize the image by 1/4 using average pooling layer
- Add more convolution layer instead of fully connected layer.
- Add some max pooling layer to to down sample the volume of layer.
After that my model can now be trained wthin a reasonably short amount of time and can reduce the loss (mse) after several epochs. So I tried my model on the simulator, and it simply slowly drive off the center of the road and off the trail. :(
After some observations I assumes that the reason of that was skewed training data, there was too much data driving strait and seldom turning left and just a little data turning right. After reading some articles on the forum, I fixed this probled by doing the following things.
- Recollect the training data with the new version simulator (use mouse instead of keyboard), making my training data more continues.
- Record my drving data both clockwise and counterclockwise (avoid bias toward turning left)
- Randomly (50% change) flip my images horizontally and negate the steering angle
- Add recovery data using left/right camera images to teach my model to drive back to the center of the road.
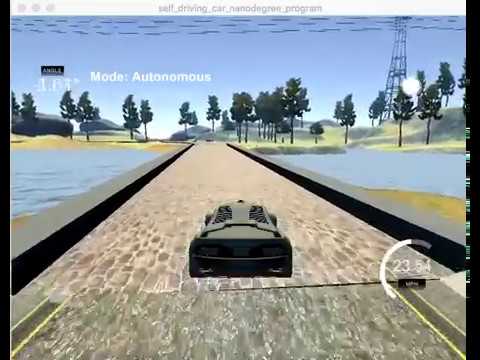
After that I tried again on the simulator, my car drives a lot better than the original result, but it still drives in a zig-zag form (it bounces between the left and right lane.) like the following video below.
After some observation on training data (by plotting histograms using ipython notebook), I finally found the reason for the zigzag drive! My initial data (before recovery) was still bias toward driving strait (-0.05~0.05) and also my recovery angle was too large (0.2) thus making my traing data in a strange form of three peaks, so it tends to go strait and turn severely and ten go strait again until it must turn again.

So I decide to do two thins:
- Reduce the recovery angle from 0.2 down to 0.1
- Reduce the occurance of data driving strait in a shape of normal distribution (model.py lines 42~50)


Finally my training data now looks more like a bell, so I retrain my model for several epochs and BANG!! it drive smoothly now :) :)
####2. Final Model Architecture
The final model architecture (model.py lines 147-184) looks like the following image, the image was drawn using keras visualization tool (lines 185)

####3. Creation of the Training Set & Training Process
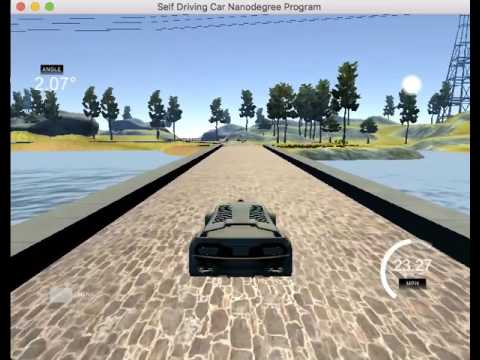
To capture good driving behavior, I first recorded four laps driving clockwise and four laps driving counterclockwise (on track one). Here is an example image of center lane driving.

And I added recovery data with recovery steering angle 0.1 and -0.1


Also I randomly flip the input image and steering to prevent model from memorizing toward turning left or right.


After the collection process, I had 11154 data points. I randomly shuffled the data set and put 20% (2231) of the data into a validation set .
I used this training data for training the model. The validation set helped determine if the model was over or under fitting. The ideal number of epochs was 10 since the loss doesn't decrease much after that. I used an adam optimizer so that manually training the learning rate wasn't necessary.