For detailed information, please refer to HoneyGUI Online Documentation.
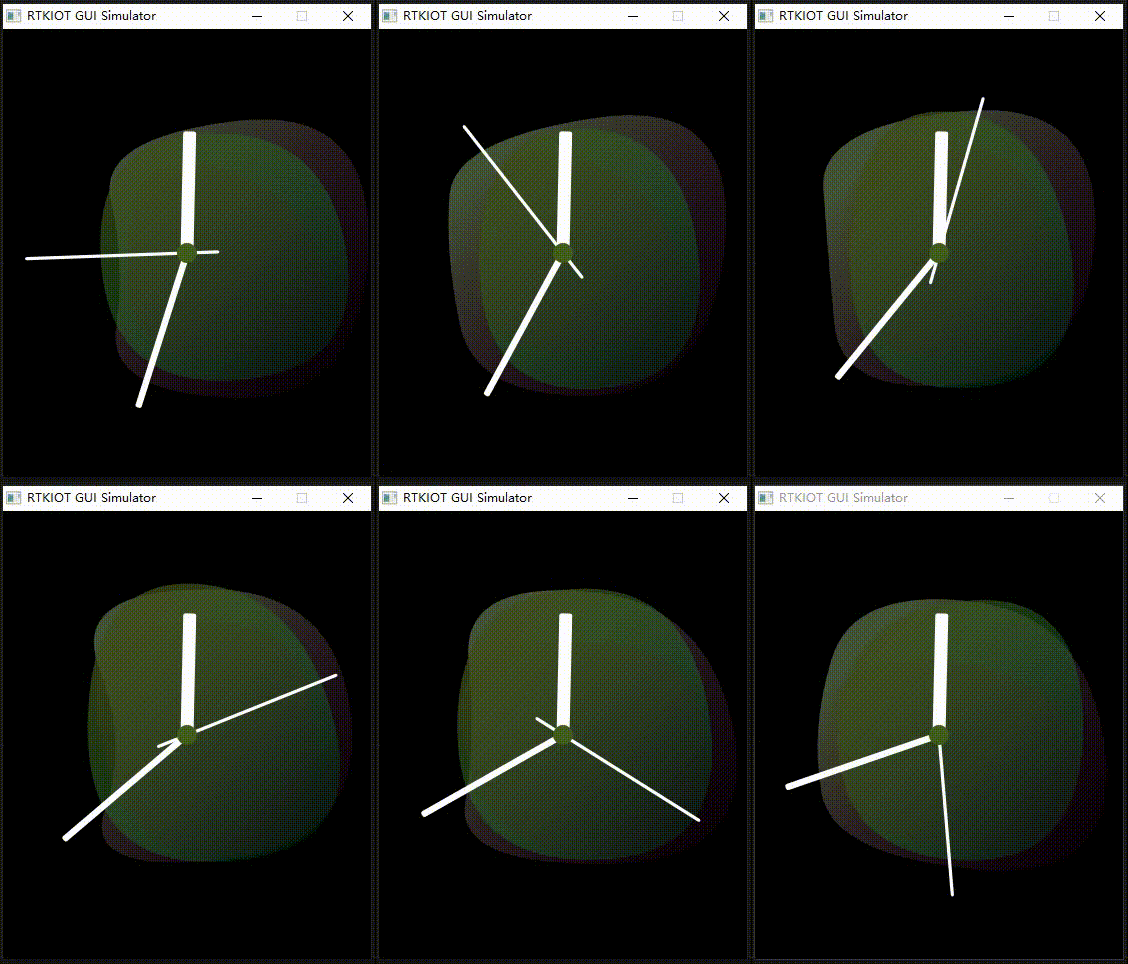 Dynamic Dial | 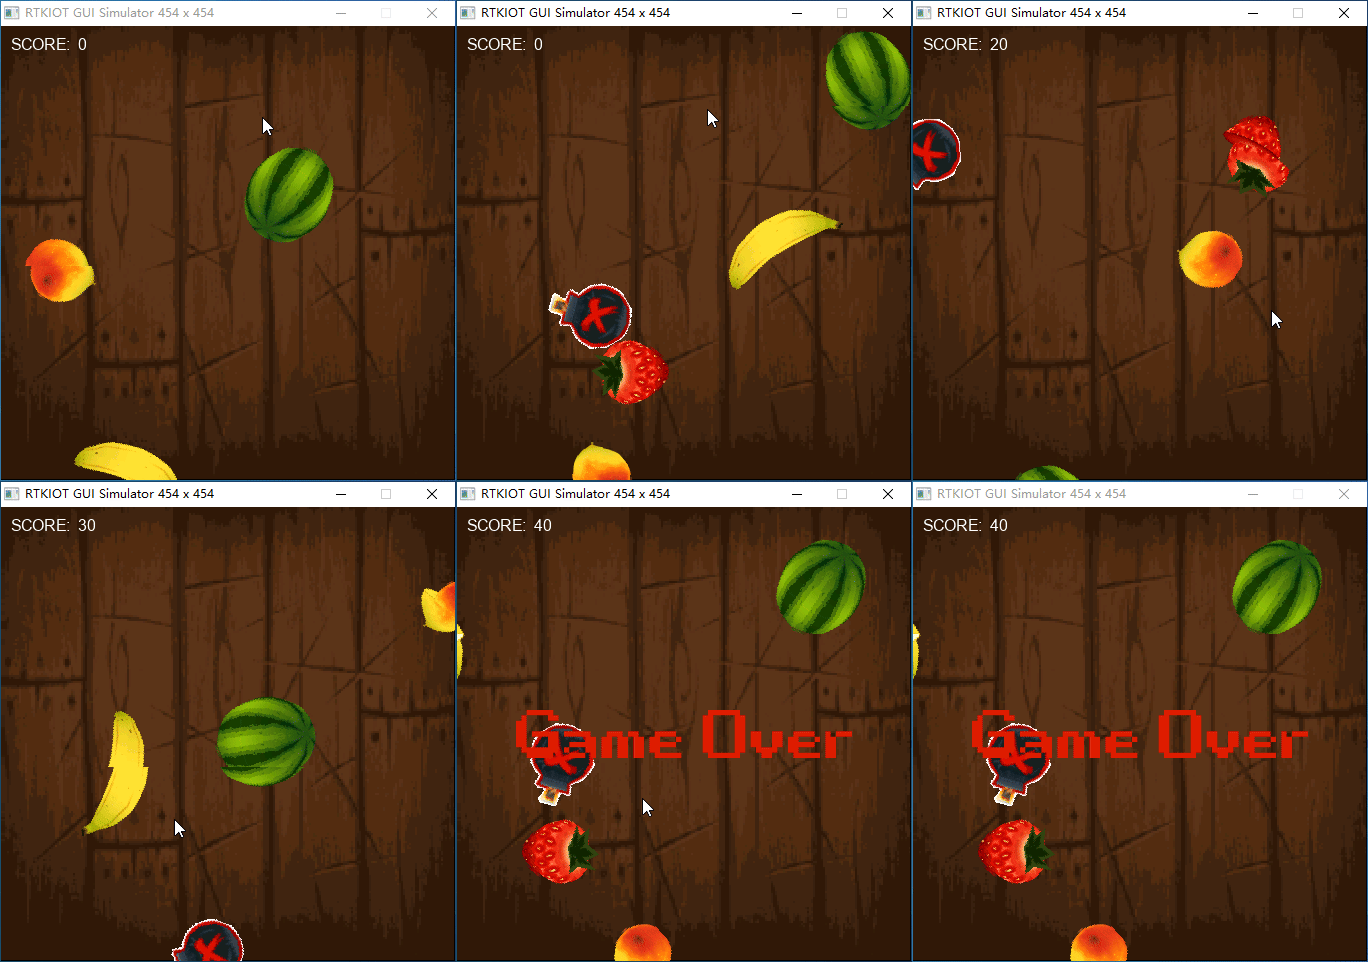 Fruit Ninja |  Calculator |
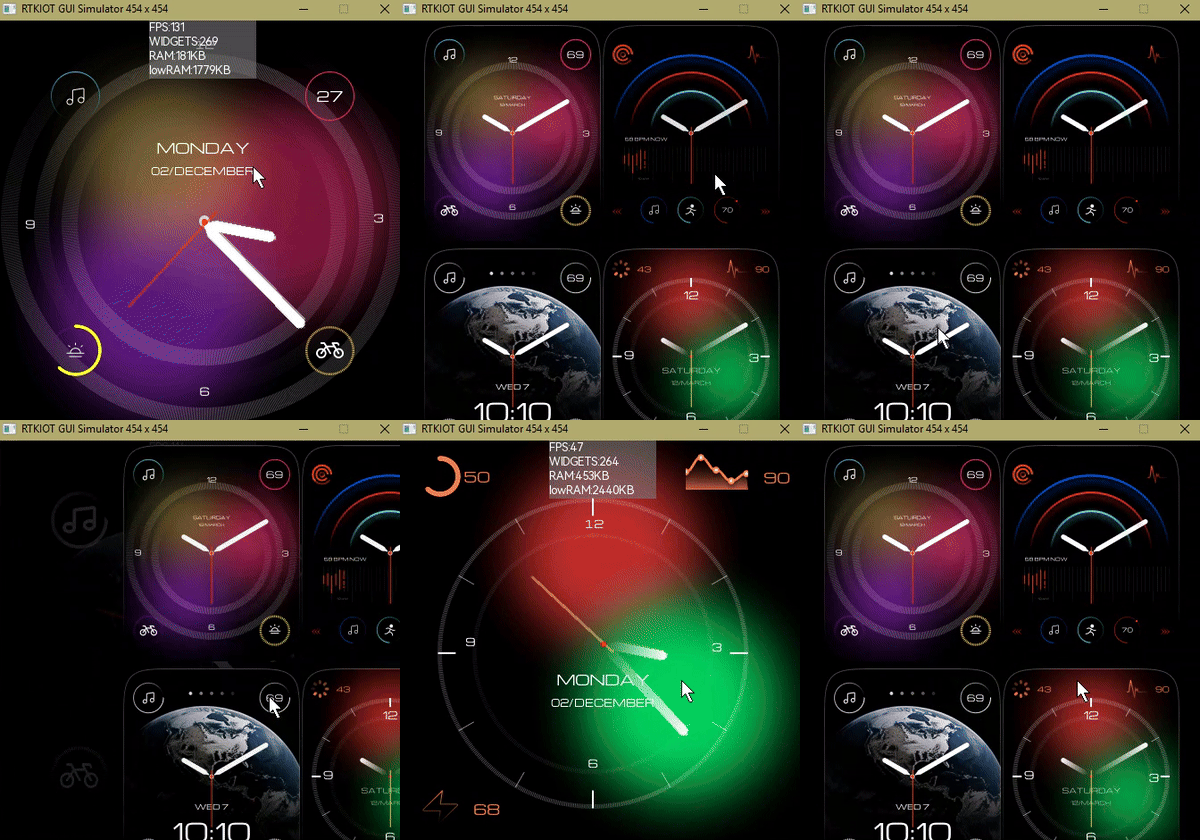 Watch Face | 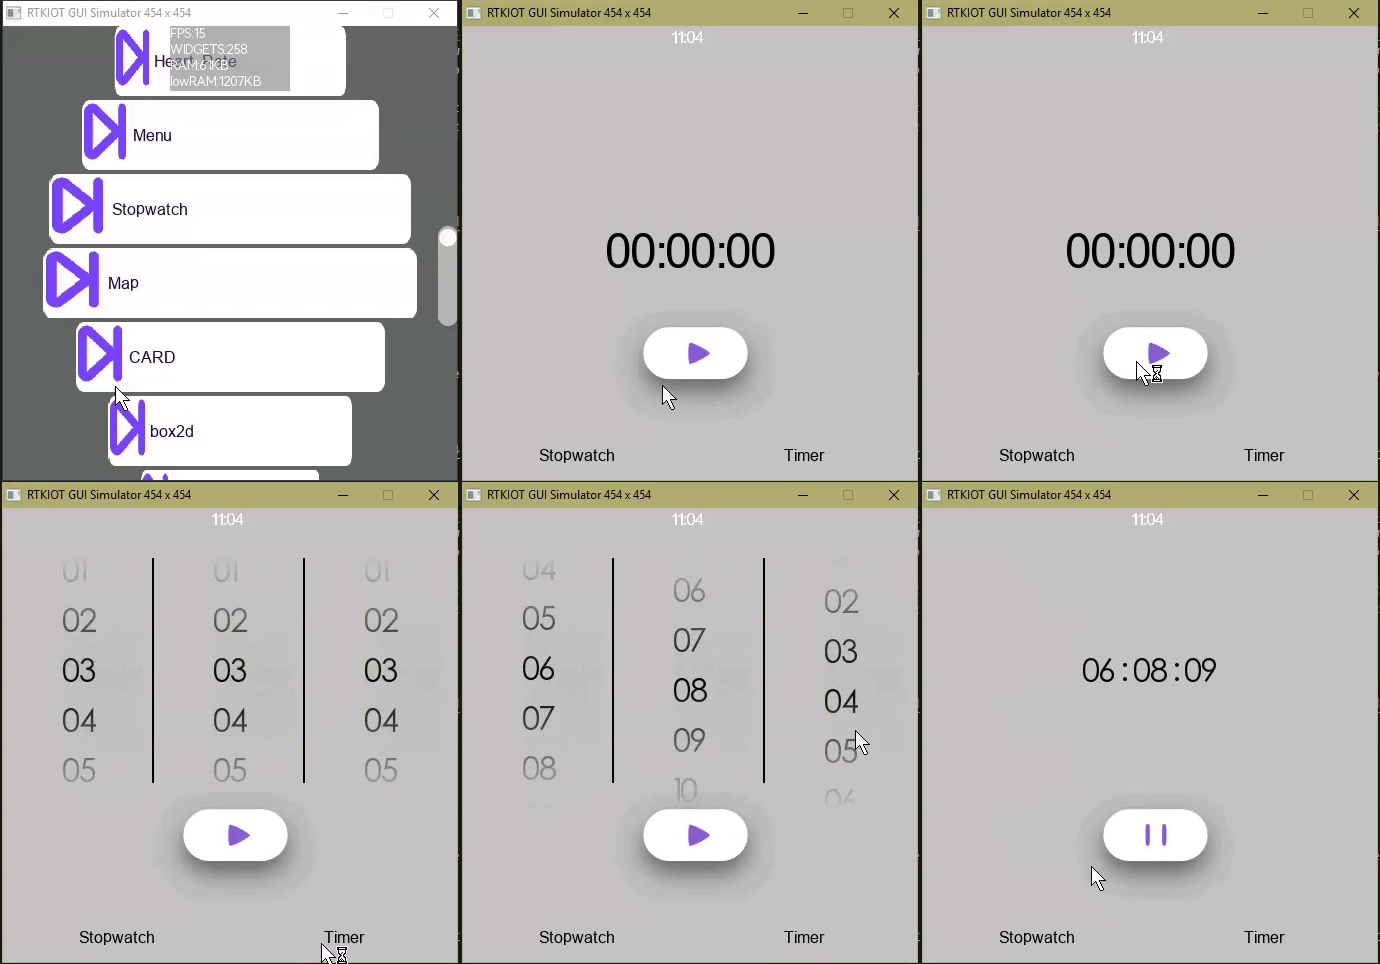 Timer | 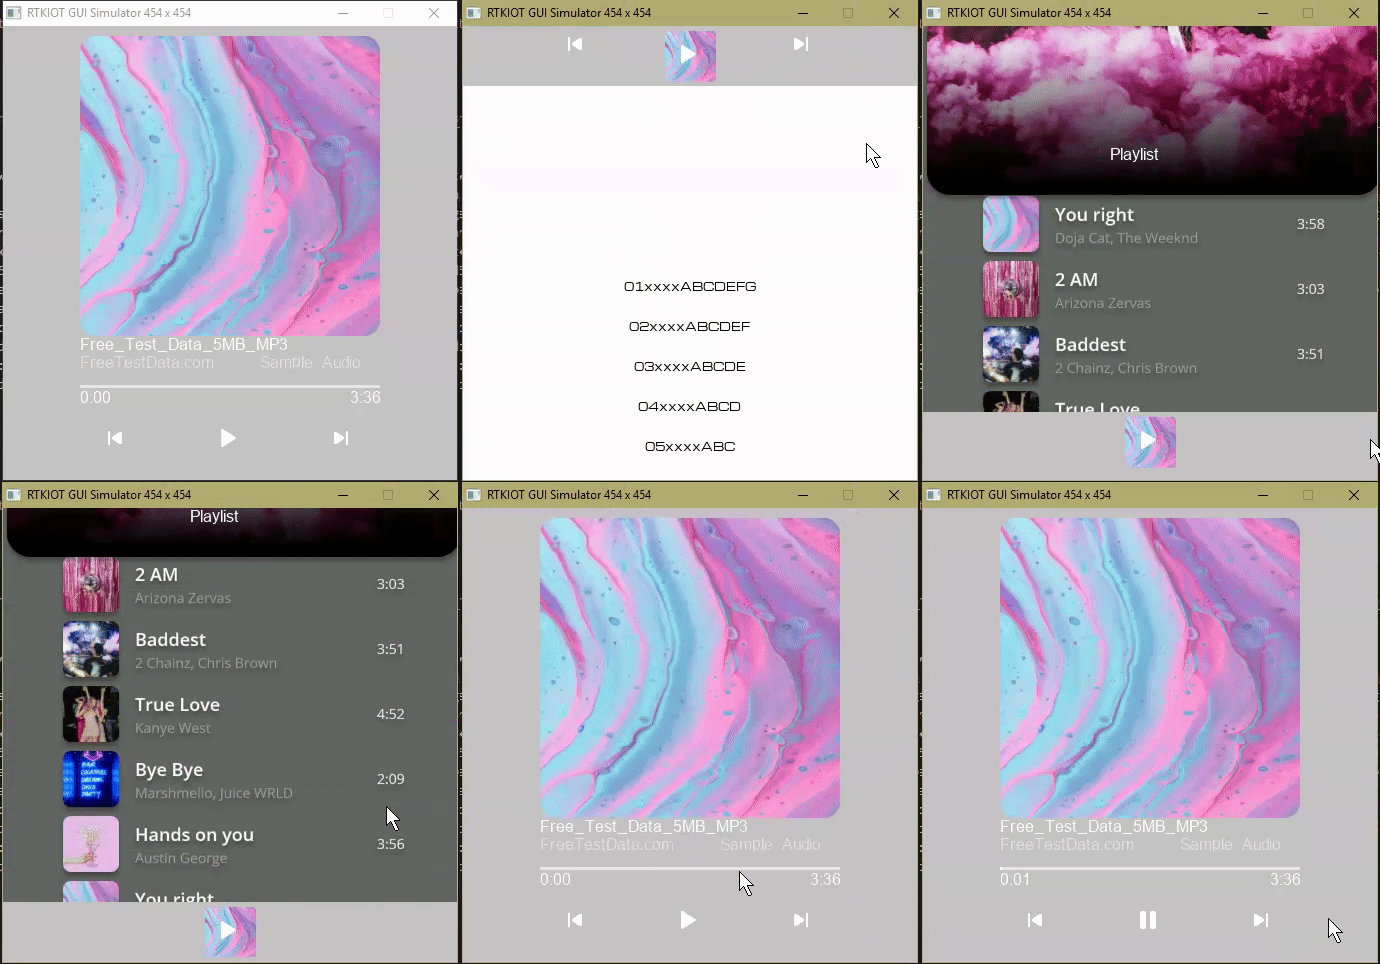 Music Player |
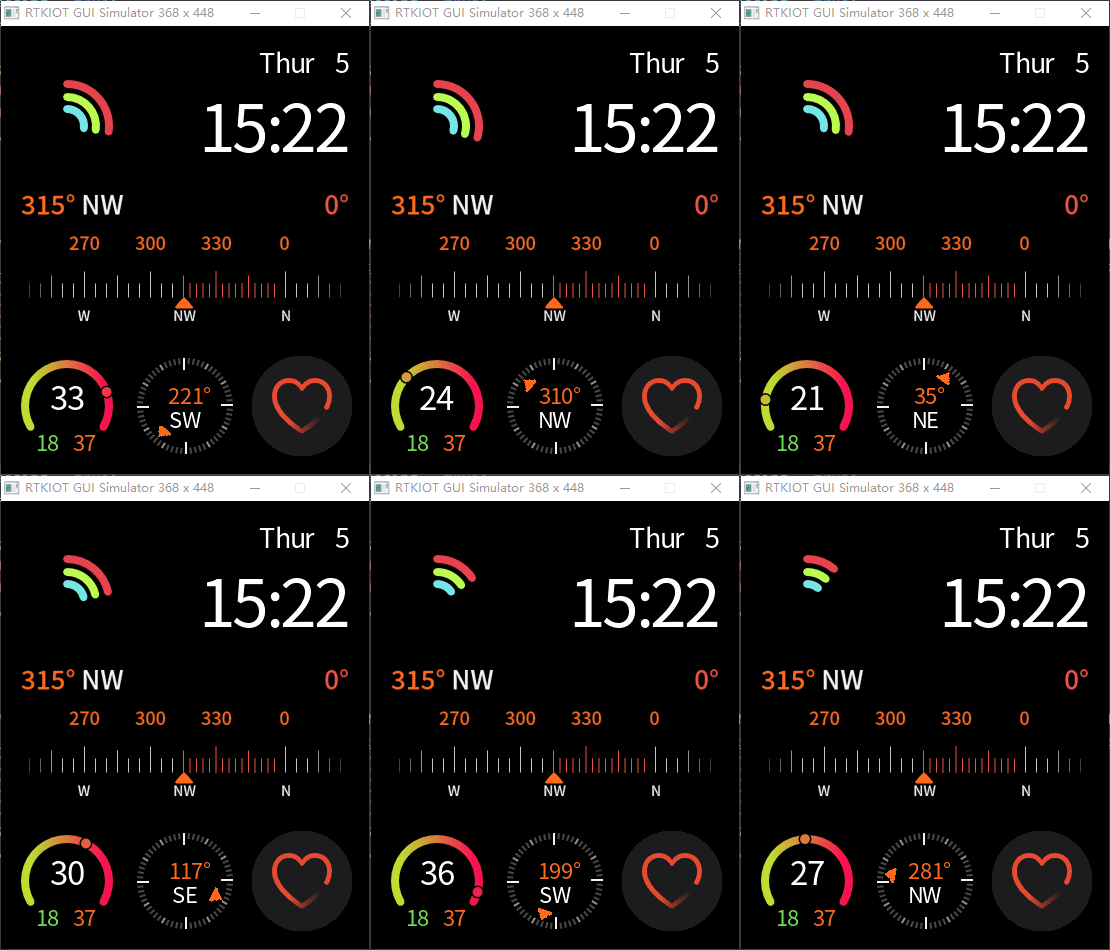 Vector Graphics | 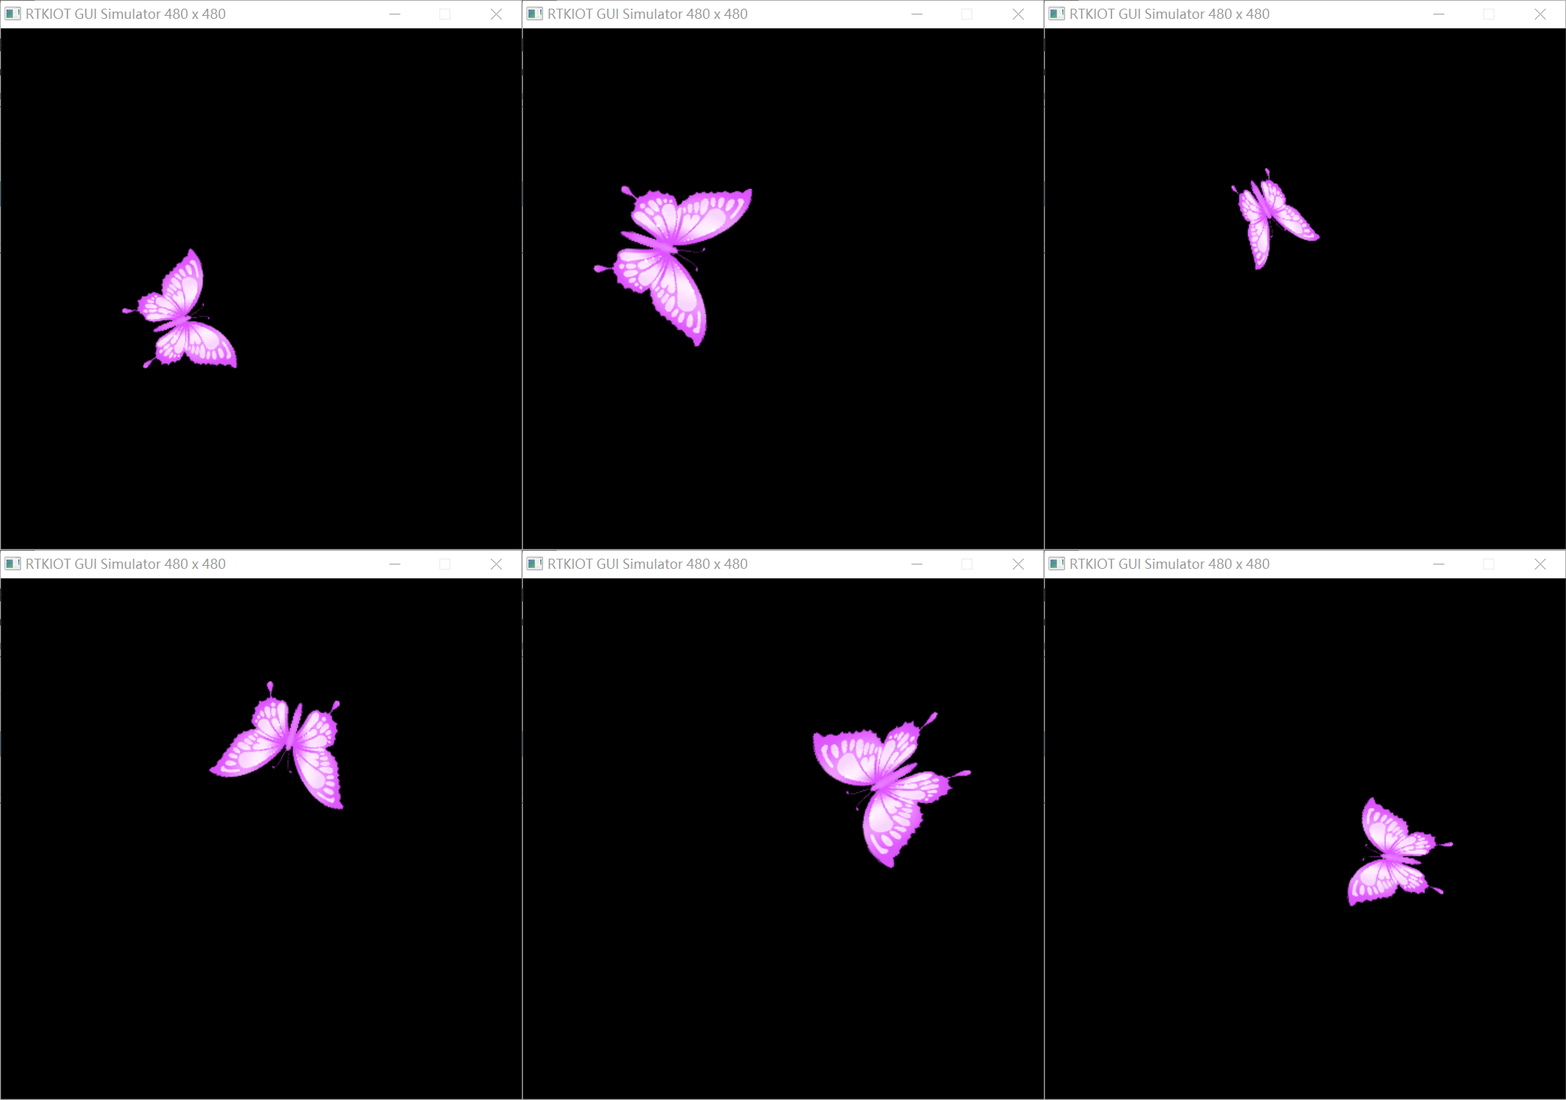 3D Butterfly | 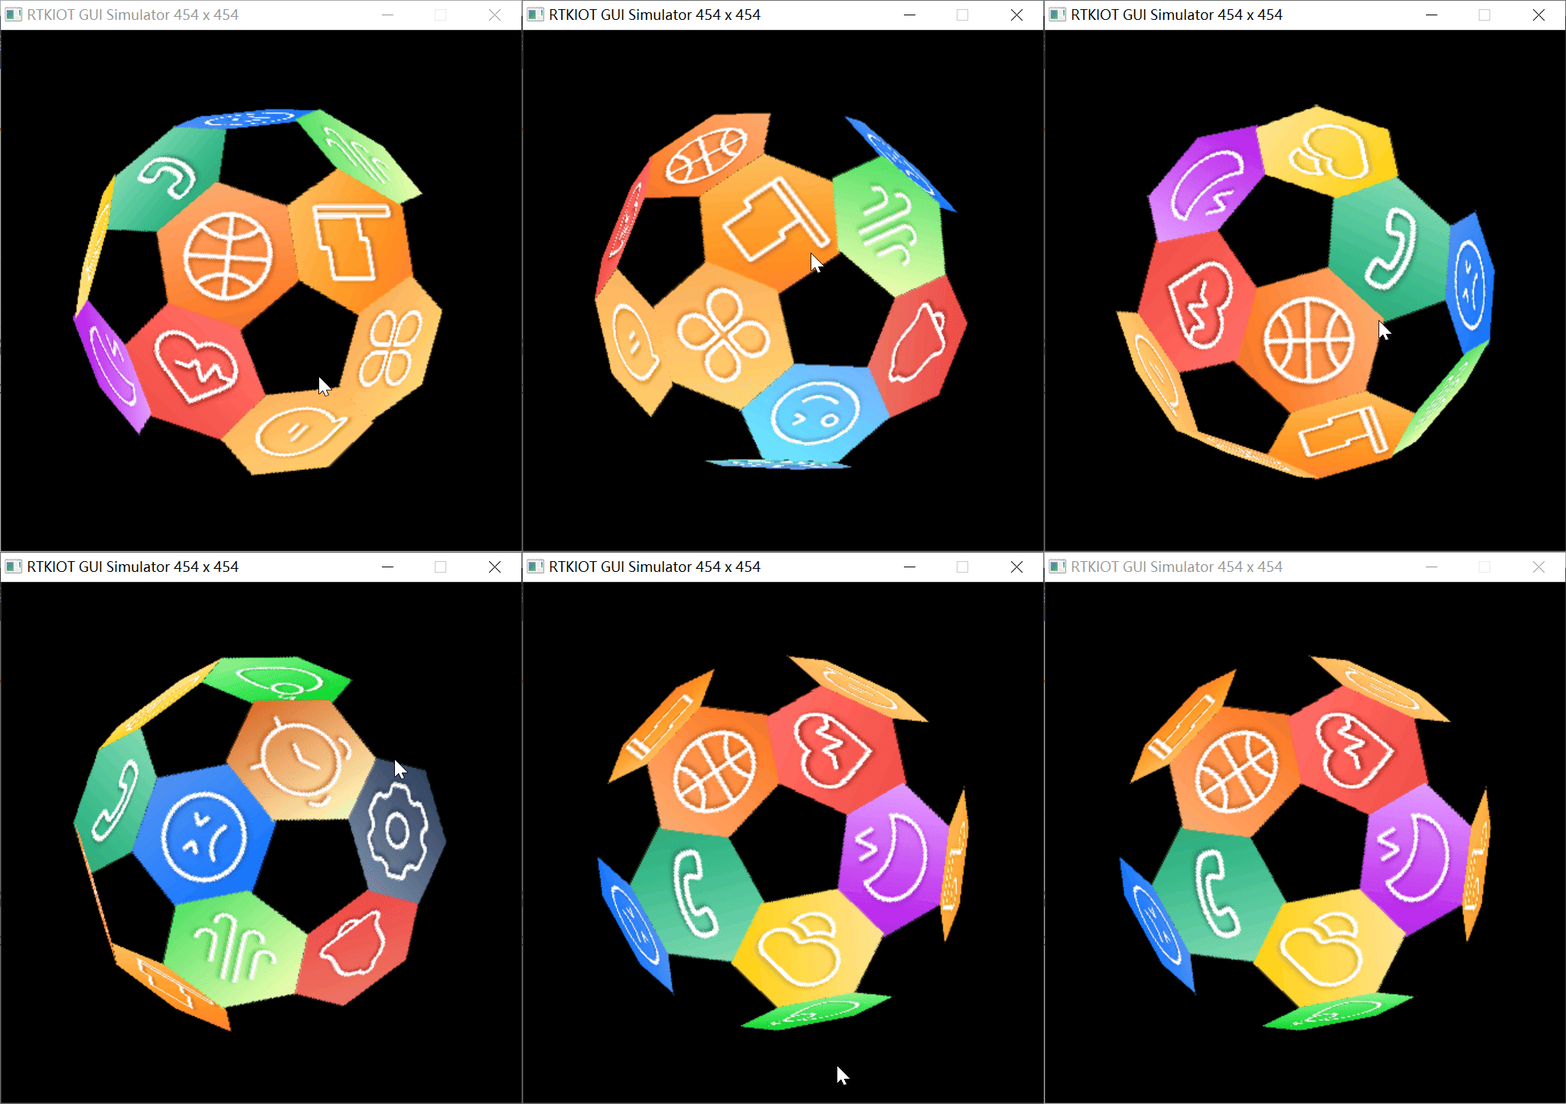 2.5D Soccer |
HoneyGUI is a graphics display framework independently developed by Realtek. It is an open-source embedded graphical user interface (GUI) library specifically designed for resource-constrained microcontrollers and embedded systems. HoneyGUI is lightweight, feature-rich, and highly customizable, making it widely used in consumer electronics, home appliances, medical devices, and smartwatches.
HoneyGUI provides a PC-based simulation environment, allowing developers to quickly develop and debug applications without relying on embedded hardware platforms. Furthermore, HoneyGUI can be used in conjunction with Realtek's proprietary front-end design tool RVD to achieve visual programming.
HoneyGUI currently supports the following two efficient APP development methods:
-
C/C++ API development
- Developers can directly utilize the C/C++ API based on the RealGUI display engine to construct applications.
- This approach offers the highest level of flexibility and system performance control, suitable for complex applications with high performance requirements.
-
Front-end low-code development
- Develop front-end applications using JavaScript and XML.
- It is recommended to use
RVisualDesignerto quickly build beautiful UI interfaces through dragging and dropping components and visual configuration, enabling low-code development and significantly improving development efficiency. - The low-code development approach for the front end offers advantages in rapid development and iteration, making it particularly suitable for rapid prototyping and small-scale application development.
The HoneyGUI framework has excellent portability and can run on various chips and operating systems. This release provides a PC Windows version.
HoneyGUI follows a four-part version numbering scheme:
Format: v{MAJOR}.{MINOR}.{PATCH}.{BUILD}
- MAJOR: Major architectural changes or product-level updates
- MINOR: API changes (including breaking API changes)
- PATCH: Bug fixes and minor improvements
- BUILD: Build number (typically 0)
Current Version: v2.1.1.0
v2.1.1.0- Current releasev1.2.0.0- Major feature updatesv1.0.19.0- Maintenance releases
Some versions include the .RVD suffix (e.g., v1.1.1.0.RVD), indicating releases specifically tailored for the RVisualDesigner tool integration.
The project uses tool/git_generate_version.py to automatically generate version header files containing:
- Version tag
- Branch name
- Commit hash
- Build date
- Repository status

HoneyGUI Software Architecture
Download the MinGW-w64 toolchain, extract it to drive C, and add it to the system environment variable Path.
- MinGW-w64 Download
- Extract and copy to directory:
C:\mingw64 - Add an environment variable:
C:\mingw64\bin- Open the Start Menu and search for
Advanced system settings. - Display
System Propertiesand then go to theAdvancedtab. - Click the
Environment Variablesbutton. - In the
User variablessection, find and select thePathvariable, then clickEdit. - Click
Newand addC:\mingw64\bin. - Click
OKto close all dialogs.
- Open the Start Menu and search for
Python 3.9.7 has been tested.
Open a CMD window and execute the following command to install the Python scons library:
> pip install scons==4.4.0Install kconfiglib for configuration management:
> pip install kconfiglibBefore compiling, you can use the menuconfig graphical configuration tool to select the sample application to run. This configuration is common to both SCons and CMake build systems.
Execute the following commands in the win32_sim directory:
> cd win32_sim
> menuconfig ../Kconfig.gui
After executing the command, the graphical configuration interface will open:

Menuconfig Configuration Interface
-
Use arrow keys to move up and down to select items
-
Use spacebar or Enter key to deselect/select configuration items
-
Select
Select HoneyGUI Demo (Watch Turnkey Demo 410x502)to enter application configuration -
Select the sample application to run:
Watch Turnkey Demo 410x502: Watch application example (410x502 resolution)GUI Demo 800x480: Dashboard application example (800x480 resolution)- Other available sample applications

Menuconfig Application Configuration Interface
- Press ESC key to return to the previous menu
- Select
< s >to save configuration to.configfile - Select
< q >to exit the configuration interface
After configuration is complete, a .config file will be automatically generated in the HoneyGUI\win32_sim directory. The build system (SCons or CMake) will automatically read this configuration file and compile the corresponding application according to the configuration.
Note: If you do not use menuconfig for configuration, the build system will use the default configuration or an existing
.configfile.
After installing the MinGW-w64 toolchain and scons library, you can launch the application through multiple methods.
Open a CMD window in the HoneyGUI folder, then run the following commands to start the application.
> cd win32_sim
> scons
> cd ..
> .\win32_sim\gui.exe
The scons command performs the build process, then execute gui.exe to run the application.
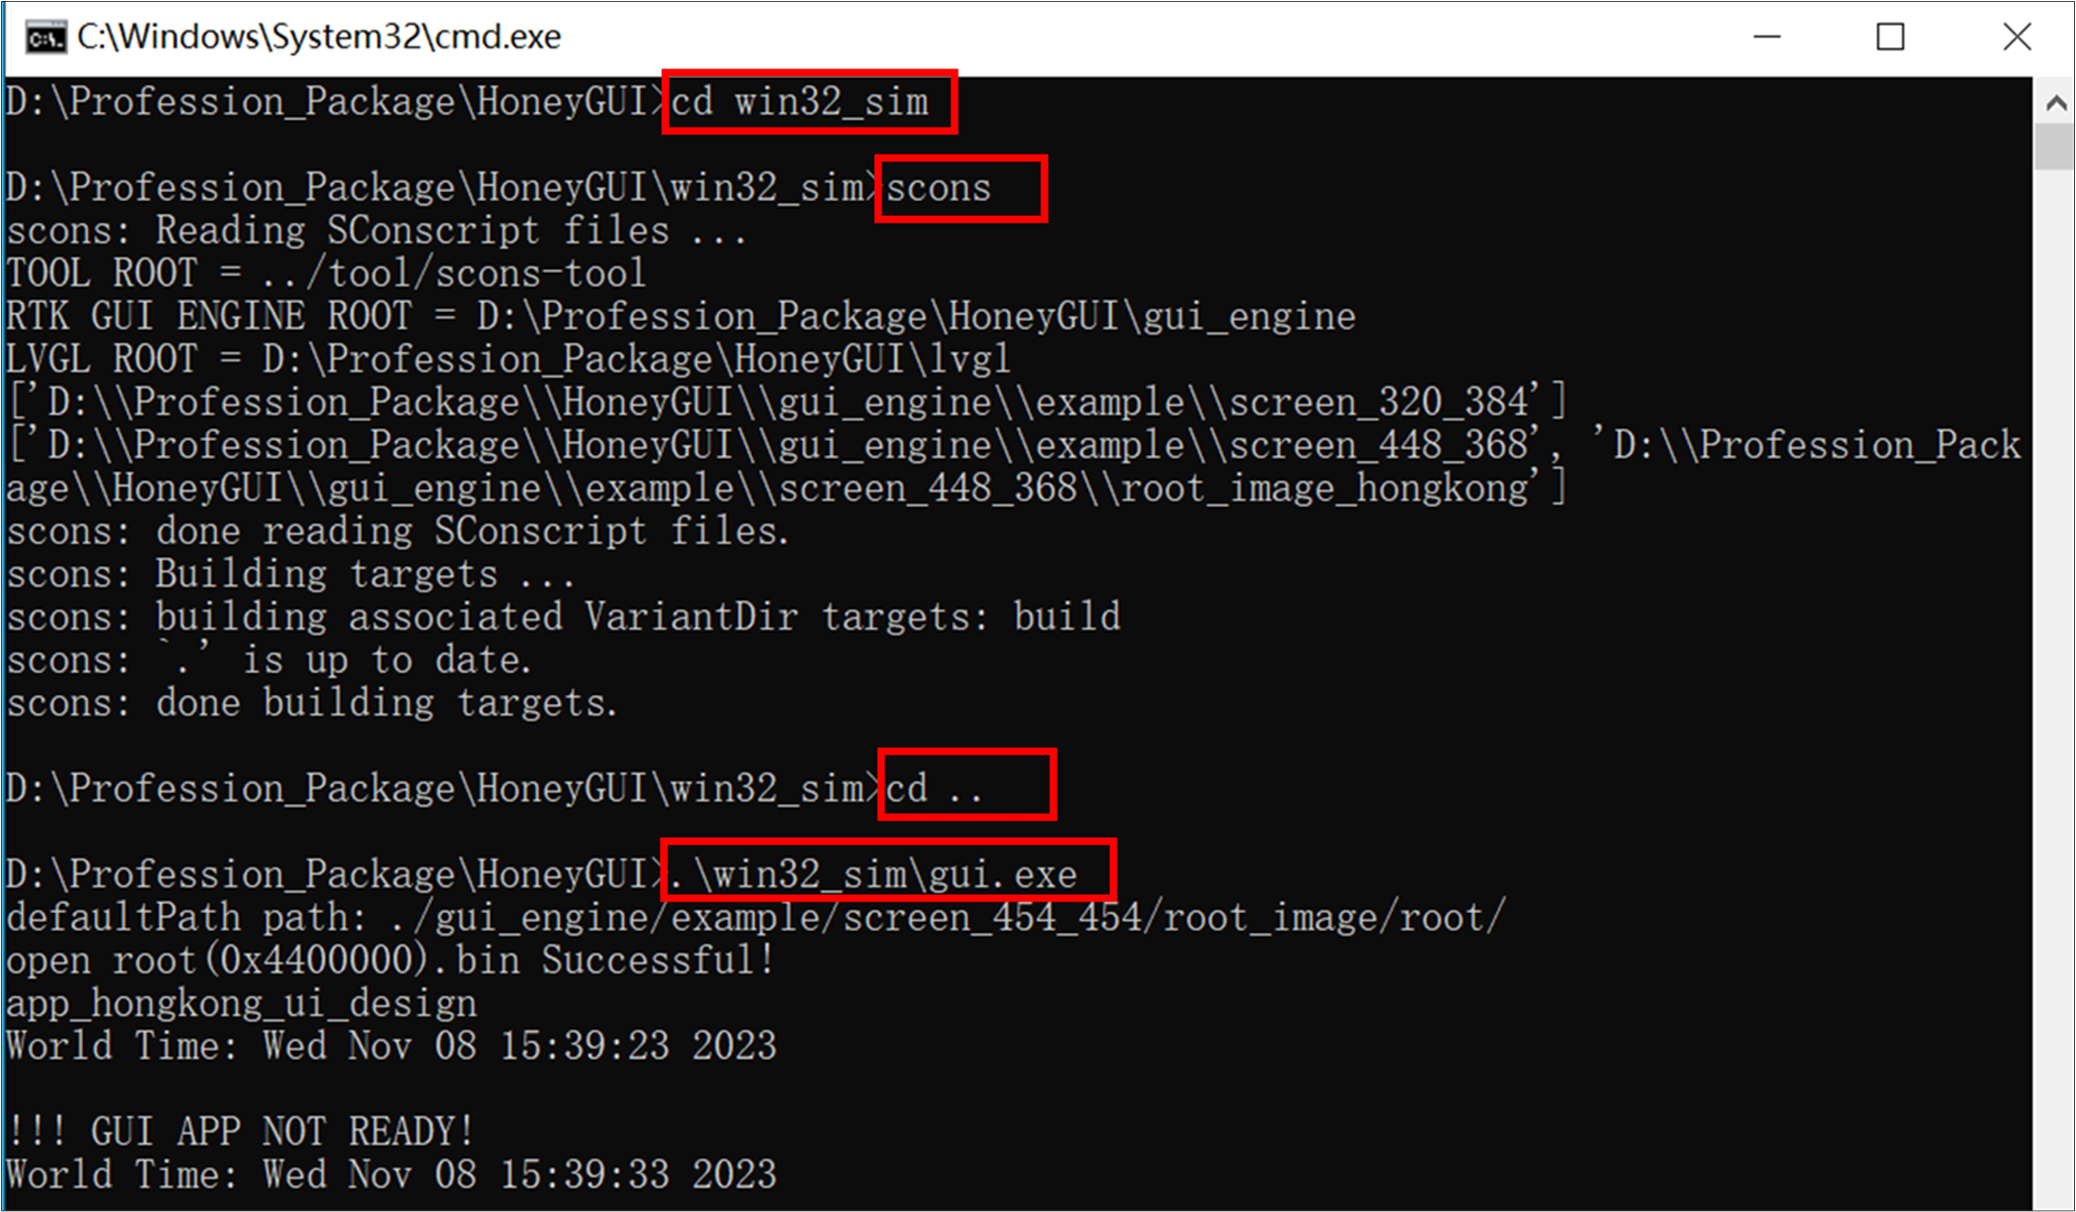
Launch Application
-
CMake (tested version 3.31.2): https://cmake.org/download/
-
MinGW-w64: As described above
Execute in the HoneyGUI folder:
> cd win32_sim
> mkdir build
> cd build
> cmake -G "MinGW Makefiles" ..To change the application configuration, refer to the Configure Application (Menuconfig) section above, and execute the menuconfig ../Kconfig.gui command in the win32_sim directory.
Execute in the HoneyGUI\win32_sim\build folder:
> cmake -G "MinGW Makefiles" ..
> mingw32-make -j 32
During compilation, CMake will automatically:
- Read the configuration from the
.configfile - Select the corresponding application source code based on the configuration
- Automatically process binary resource files (
.binfiles) required by the application - Generate the executable file
gui.exe
Execute in the HoneyGUI folder:
> .\win32_sim\build\gui.exe- Click the
HoneyGUI.code-workspacefile
After entering the VSCode interface, you can select the Run and Debug option, then click the Run button.
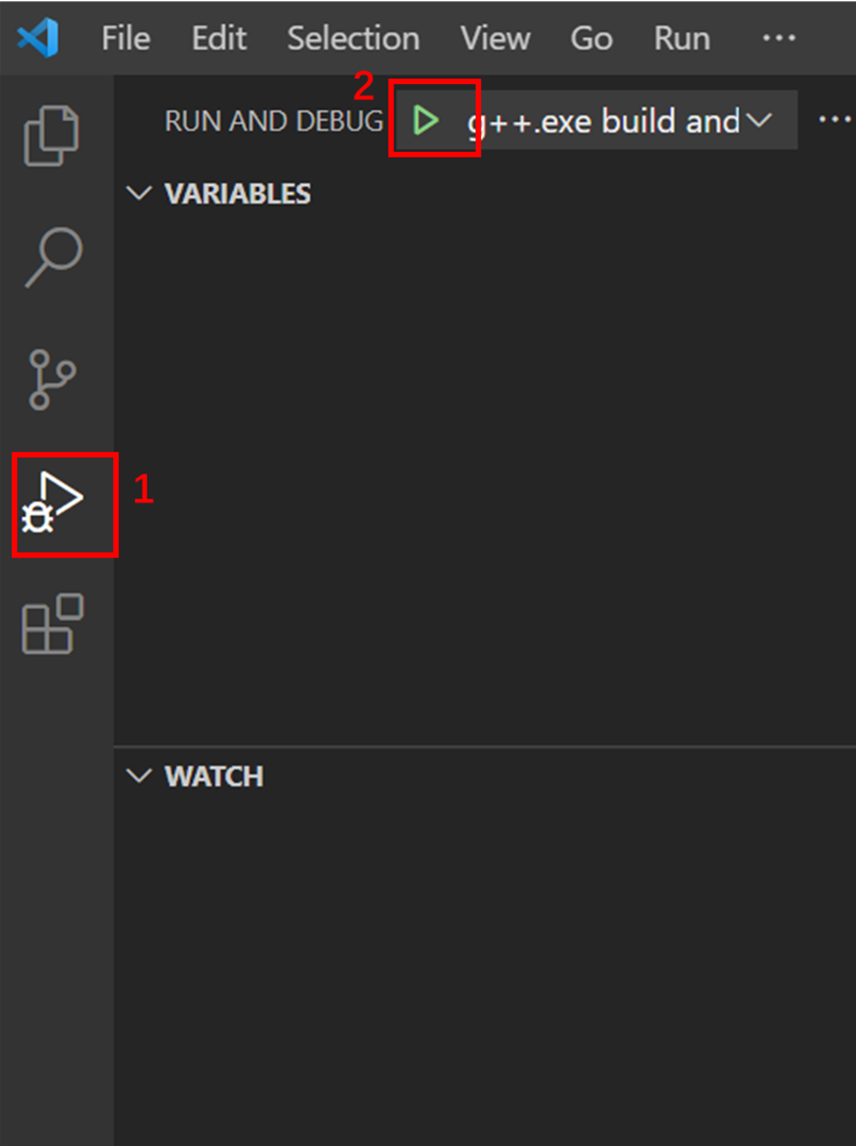
VSCode Run Project
The watch face is displayed in the window, and you can interact with it by swiping and clicking.
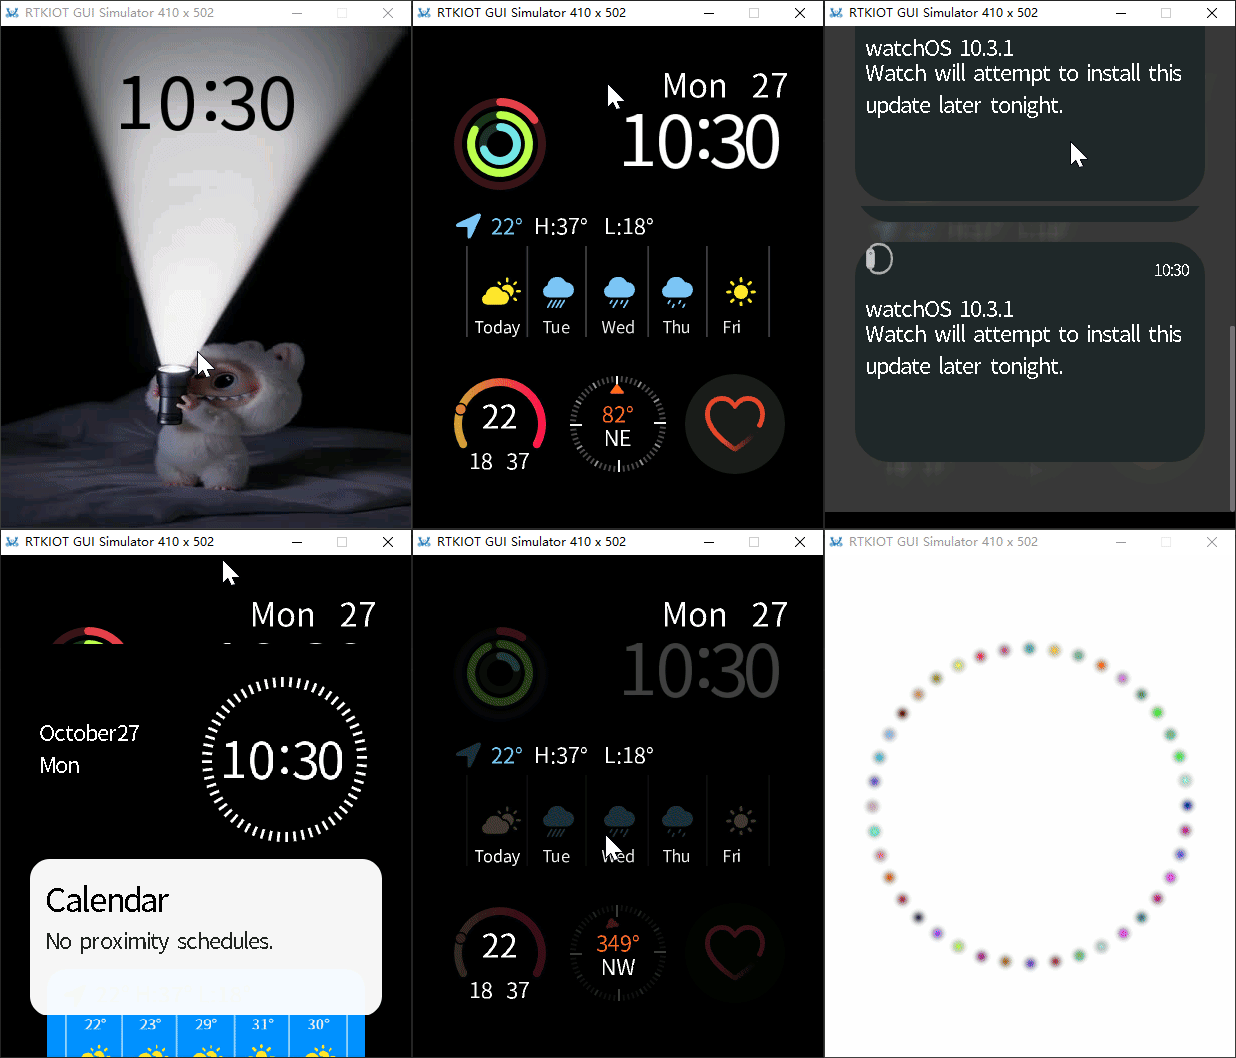
Watch Project Example
The dashboard is displayed in the window.

Dashboard Project Example