Terraform Jupyter Installer는 Oracle Cloud Infrastructure Classic에 Machine Learning 및 Deep Learning을 위한 파이썬 기반 데이터 분석 환경을 구성하는 Installer입니다.
Terraform Jupyter Installer는 다음과 같은 절차를 자동화합니다.
- Oracle Cloud Infrastructure Classic에 VM 생성
- 보안설정
- Security Application 등록
- jupyter: 8888
- tensorboard: 8008
- Security List 생성: jupyter_list
- Security Rule 생성
- Allow-Jupyter-http-access
- Allow-Tensorboard-http-access
- jupyter-ssh
- Security Application 등록
- VM에 소프트웨어 설치 및 서비스 등록
- Python3 설치
- Utility 설치
- Python Libaray 설치
- Jupyter, numpy, pillow, matplotlib, scikit-learn
- Pandas, scrapy, NLTK, bokeh, NetworkX, scipy
- Seaborn, beautifulsoup4, keras, tensorflow
- Jupyter 환경 설정
- Jupyter 서비스 등록
- Jupyter 서비스 시작
Terraform Jupyter Installer를 이용하여 Jupter VM을 오라클 클라우드에 생성하기 위해서는 다음과 같은 3가지가 선행되어야 합니다.
- 오라클 클라우드 계정 생성
- 작업 컴퓨터에 git 설치
- 작업 컴퓨터에 SSH 키 생성 (private/public key)
- 작업 컴퓨터에 terraform 설치
오라클 계정이 없다면 " Oracle Cloud Trial 신청: $300 Credit" 문서를 잠조하여 트라이얼 계정을 생성하시기 바랍니다.
terraform 파일을 github으로 내려받기위한 용도입니다. git이 작업 컴퓨터에 설치되어 있지 않다면 다음 문서를 참조하여 설치하시기 바랍니다.
Oracle Cloud Infrastructure Classic에 VM을 생성하기 위해서는 SSH Key가 필요합니다. 앞으로 사용할 SSH Key가 없는 상태라면 다음 페이지를 참조하여 SSH Key를 미리 만들어야 합니다.
ssh public key 파일과 ssh private key 파일 위치는 ssh_public_key_file과 ssh_private_key_file에 등록됩니다.
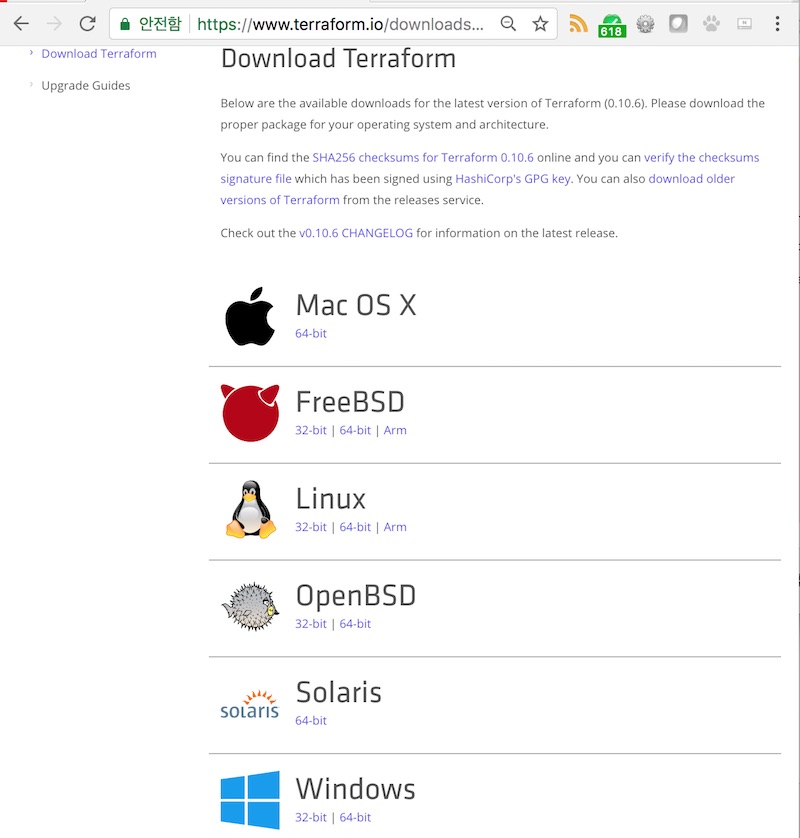
Terraform 다운로드 URL은 https://www.terraform.io/downloads.html 입니다. Terraform은 Go-lang으로 개발되어 있습니다. Terraform은 1개의 실행 파일로 구성되어 있습니다. 테라폼 홈페이지 다운로드 사이트[그림 1 참조]에서는 Mac OS X, FreeBSD, Linux, OpenBSD, Solaris, Windows용 실행파일을 제공합니다. 데모에 사용할 컴퓨터의 운영체제와 비트에 맞는 파일을 내려받고, Zip 파일 포맷으로 제공된 파일의 압축을 풀면 “terraform” 실행 파일이 생깁니다. 이 실행 파일의 위치는 PATH 환경 변수에 추가하여 어디서든지 실행할 수 있도록 준비합니다. Terraform 설치는 이것으로 완료되었습니다.
- 그림 1. Terraform 다운로드 페이지
Terraform Jupyter Installer를 실행하는 절차는 크게 3부분으로 구분할 수 있습니다.
- github으로 부터 레파지토리 클론
- {REPOSITORY_HOME}/variable.tf 파일 수정: 변수 설정
- terraform apply 실행
Terraform Jupyter Installer의 github 레파지토리 위치는 https://github.com/oracloud-kr/terraform-jupyter-installer 입니다. 다음 명령으로 레파지토리를 복제합니다.
git clone [email protected]:oracloud-kr/terraform-jupyter-installer.git
variable.tf는 다름과 같이 6개의 변수가 정의되어 있습니다.
| 변수명 | 설명 | 예제 |
|---|---|---|
| user | 오라클 클라우드 계정 명 | [email protected] |
| password | 오라클 클라우드 로그인 패스워드 | Welcome1! |
| domain | identity domain 명 | krspider |
| endpoint | REST Endpoint URL | https://api-z52.compute.us6.oraclecloud.com/ |
| ssh_public_key_file | 작업 컴퓨터에 SSH public key 파일 위치 | /Users/taewan/id_rsa.pub |
| ssh_private_key_file | 작업 컴퓨터에 SSH private key 파일 위치 | "/Users/taewan/id_rsa |
오라클 클라우드의 계정명과 패스워드를 variable.tf 파일의 user와 password를 설정합니다..
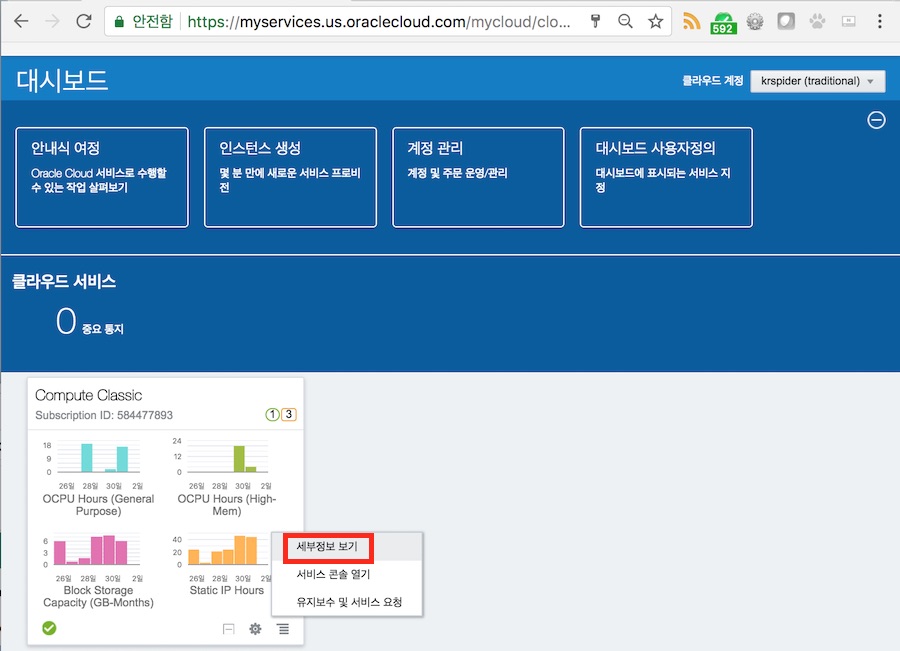
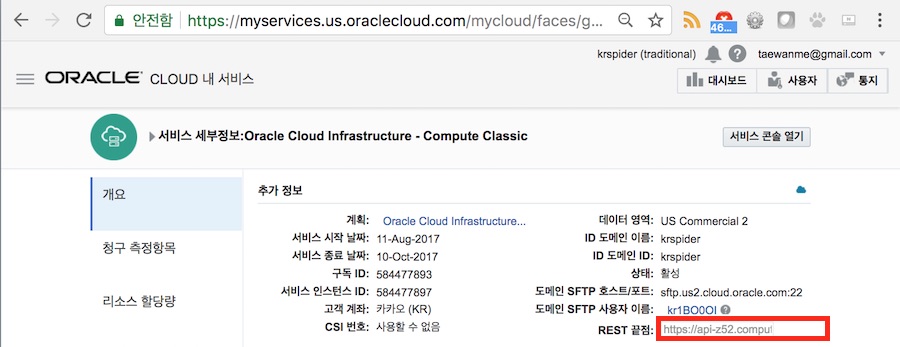
<그림 2>와 같이 오라클 클라우드 대시보드에서 Compute Classic 세부 정보 페이지 이동합니다. Compute Classic 세부 정보 페이지에서 도메인과 endpoint 정보를 확인하고 variable.tf 파일의 domain과 endpoint에 설정합니다.
-
그림 2. 오라클 클라우드 대시보드에서 Compute Classic 세부 정보 페이지 이동
-
그림 3. Compute Classic 세부 정보 페이지에서 도메인명과 REST Endpoint 정보 조회
앞에서 작업 컴퓨터에 생성한 ssh 키 파일의 파일명을 포함한 절대 경로를 variable.tf 파일의 ssh_public_key_file과 ssh_private_key_file에 설정합니다.
다음은 variable.tf 파일의 설정 예입니다.
variable user {
  type    = "string"
  default = "[email protected]"
}

variable password {
  type    = "string"
  default = "Welcome1!"
}

variable domain {
  type    = "string"
  default = "krspider"
}

variable endpoint {
  type    = "string"
  default = "https://api-z52.compute.us6.oraclecloud.com/"
}

variable ssh_public_key_file {
  description = "ssh public key"
  default     = "/Users/taewan/id_rsa.pub"
}

variable ssh_private_key_file {
  description = "ssh private key"
  default     = "/Users/taewan/id_rsa"
}
github repository의 최상위 디렉터리에서 다음 명령을 수행하면 Jupyter와 Machine Learning을 위한 Jupyter가 설치된 VM이 생성됩니다.
> pwd
/Users/taewan/demo/jupyter-terraform
> terraform apply
명령 수행 결과(로그)는 다음과 같습니다. 실행 시간은 약 4~5분 정도가 소요됩니다.
> terraform apply
opc_compute_security_application.tensorboard: Creating...
 dport:    "" => "8008"
 name:     "" => "tensorboard"
 protocol: "" => "tcp"
opc_compute_security_application.jupyter: Creating...
 dport:    "" => "8888"
 name:     "" => "jupyter-8888"
 protocol: "" => "tcp"

 ## 중간 생략

 Apply complete! Resources: 9 added, 0 changed, 0 destroyed.

 The state of your infrastructure has been saved to the path
 below. This state is required to modify and destroy your
 infrastructure, so keep it safe. To inspect the complete state
 use the `terraform show` command.

 State path:

 Outputs:

 jupyter_url = http://129.144.150.109:8888
 ssh = ssh -i /Users/taewan/oracloud_rsa [email protected]
 tensorborac_url = http://129.144.150.109:8008
>
실행 결과 마지막에 SSH 접속 방법과 jupyter 접속 정보를 확인할 수 있습니다.
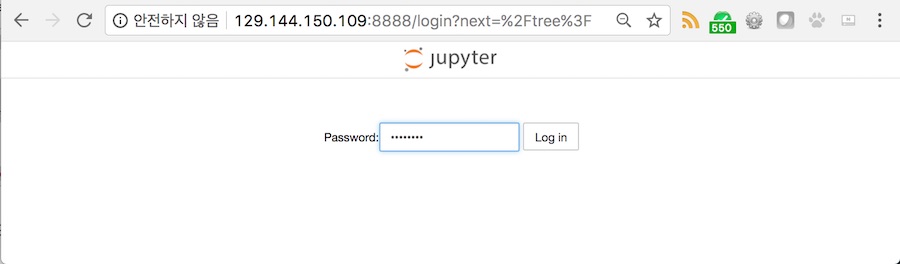
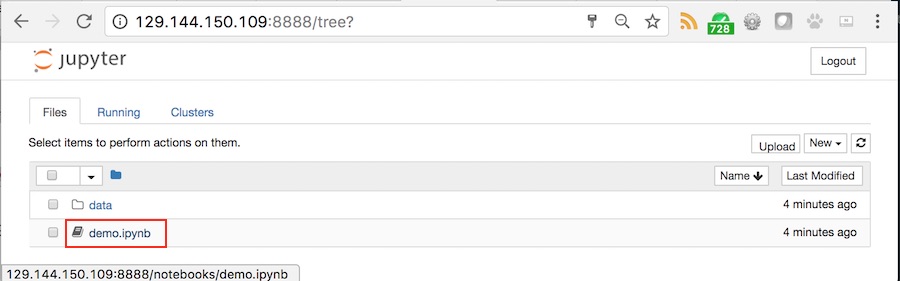
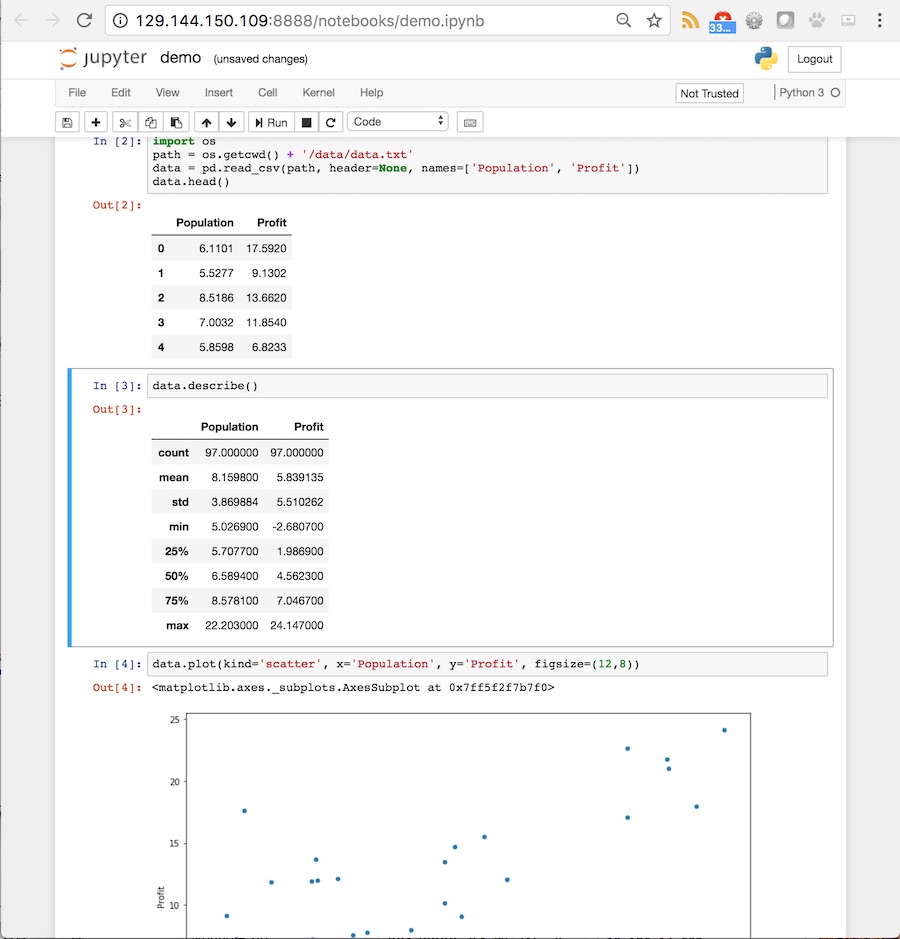
위 실행 로그의 접속 정보로 jupyter를 접근할 수 있습니다. 접속 패스워드는 Welcome1 입니다. jupyter에 로그인하여 그림 4 ~ 6과 같이 jupyter를 즐길 수 있습니다.
-
그림 4. jupyter 접속: 패스워드 - Welcome1
-
그림 5. 데모 jupyter 노트북: demo.ipython
-
그림 6. demo notebook
Terraform Jupyter Installer 실행 방법 데모는 youtube에서 확인할 수 있습니다. 동영상을 재생하기 위해서는 아래 이미지를 클립하시기 바랍니다.